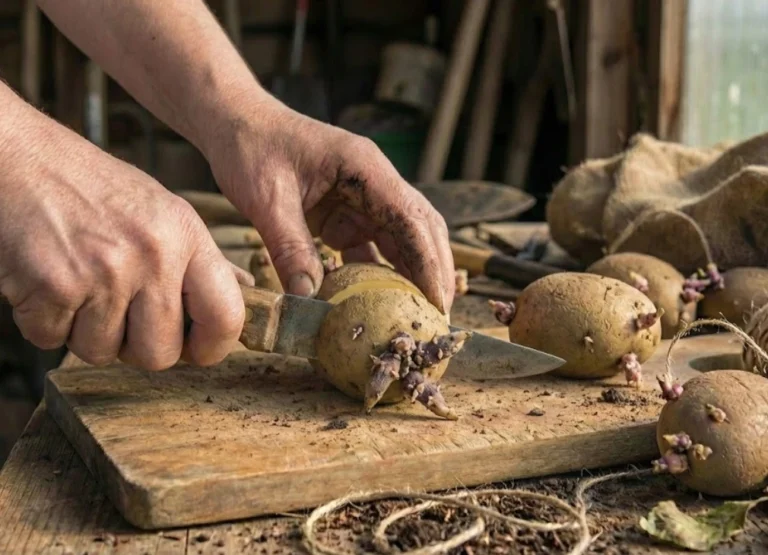
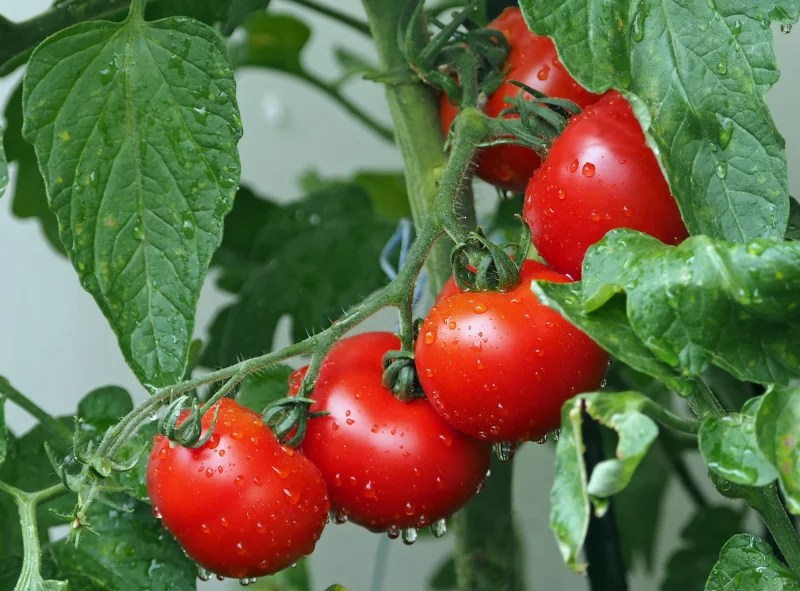
You know the heartbreak. You’ve spent months nursing a tomato plant, waiting for that first red harvest, only to be met with a massive, six-foot-tall green jungle with zero blossoms—or worse, you finally get fruit, only to find the bottoms have turned into black, sunken, rotting craters.
As the founder of The Planting Key, I see this exact scenario play out every single summer. The hard truth that most generic gardening blogs won’t tell you is that more fertilizer is often the exact reason your tomatoes are failing. Overfeeding—specifically with the wrong ratios—will actively prevent your plants from fruiting. Let’s ditch the internet folklore and look at the hard, biological realities of tomato nutrition so you can finally grow the heavy, disease-resistant yields you deserve.
Quick Answer
- Tomato Plant Math (N-P-K): Nitrogen (N) drives leafy growth, phosphorus (P) supports root establishment, and potassium (K) dictates fruit sizing, ripening, and overall yield quality.
- The Blossom-End Rot Truth: BER is a moisture-fluctuation and disrupted calcium-transport issue, not simply a lack of soil calcium. Epsom salts do not fix BER; their excessive magnesium actively blocks calcium uptake.
- Container vs. In-Ground Feeding: Container tomatoes rapidly lose nutrients through repeated watering and require high-frequency liquid feeding (e.g., 20-20-20 early, 9-15-30 during fruiting). In-ground tomatoes thrive on a slower-release granular baseline with periodic side-dressing.
- The Feeding Pivot: The exact moment your first fruit clusters reach golf-ball size, the plant shifts from vegetative to fruiting. You must immediately pivot from balanced nutrition to a high-potassium and calcium-rich feeding strategy.
The “Plant Math” of Tomato Nutrition (Understanding N-P-K)
To maximize yields, tomato nutrition should generally align with the plant’s developmental stage. Nitrogen primarily supports leafy growth, phosphorus helps establish roots and flowers, and potassium becomes increasingly important during flowering, fruiting, and ripening.
The chart below summarizes the core “plant math” behind tomato nutrition and when each nutrient matters most.
Tomato Plant Math Quick Reference
| Nutrient | Main Role | Common Imbalance Signs | Peak Demand Stage |
|---|---|---|---|
| Nitrogen (N) | Leaf and stem growth | Excess causes lush foliage and poor fruit set | Early vegetative growth |
| Phosphorus (P) | Root establishment and flowering | Purple foliage and reduced flowering | At planting and early growth |
| Potassium (K) | Fruit sizing, ripening, and stress tolerance | Yellow leaf margins and uneven ripening | Flowering and fruiting |
Nitrogen (N) – The Leaf Builder
Nitrogen is the fuel for early vegetative growth. However, applying too much nitrogen early on results in lush vegetative growth and poor fruit set.
Crucial Metric: Maintain moderate nitrogen, avoiding high-ammonia synthetic fertilizers during the flowering stage to prevent blossom abortion.
Phosphorus (P) – The Root & Bloom Engine
Phosphorus is essential for root mass and blossom development. However, by cross-referencing soil pathology data from Washington State University (WSU) Extension, we know that cold, wet spring conditions physically inhibit the absorption of phosphorus in the soil.
Crucial Metric: Because cold, wet spring soils can temporarily inhibit phosphorus uptake, many university extension programs recommend starter fertilizers with elevated phosphorus at transplanting, especially in cool soils or low-phosphorus beds.
Potassium (K) – The Fruit Sizer
Potassium plays a major role in fruit development, firmness, ripening, and overall plant stress tolerance. As noted in commercial yield trials by Texas A&M AgriLife Extension, always remember the golden rule of plant math: “N is for leaves, P is for roots, and K is for fruit”.
The Great Blossom End Rot Myth (Stop Using Epsom Salts)
Let’s address the elephant in the garden: Blossom End Rot (BER), those ugly black bottoms on your tomatoes. The internet will tell you this is a soil calcium deficiency and that you need to immediately bury crushed eggshells, antacids, or Epsom salts around your plants. In many cases, these remedies fail to address the underlying cause of the disorder.
Research from Michigan State University (MSU) Extension shows that blossom end rot can occur even when the soil contains adequate calcium. In many cases, the disorder is caused not by a lack of calcium in the soil itself, but by disruptions in how calcium is transported within the plant. Because calcium moves with water through the plant’s vascular system, inconsistent soil moisture is one of the most common triggers of BER. During drought stress or uneven watering, the fruit may continue expanding faster than calcium can be delivered to developing tissues, leading to the characteristic black, sunken lesions on the blossom end.
MSU Extension also notes that root damage, overcultivation, fertilizer burn, and waterlogged soils can interfere with calcium uptake and increase the risk of blossom end rot.
This is also why many common internet remedies fail to solve the underlying problem. Epsom salts, for example, are magnesium sulfate — not calcium. Excessive magnesium applications may disrupt the balance between magnesium and calcium uptake in some soils, particularly when magnesium levels are already sufficient.
The Fix: Maintain a consistent supply of soil moisture, avoid damaging the roots, mulch to stabilize soil moisture fluctuations, and avoid excessive early nitrogen applications that force overly rapid plant growth.
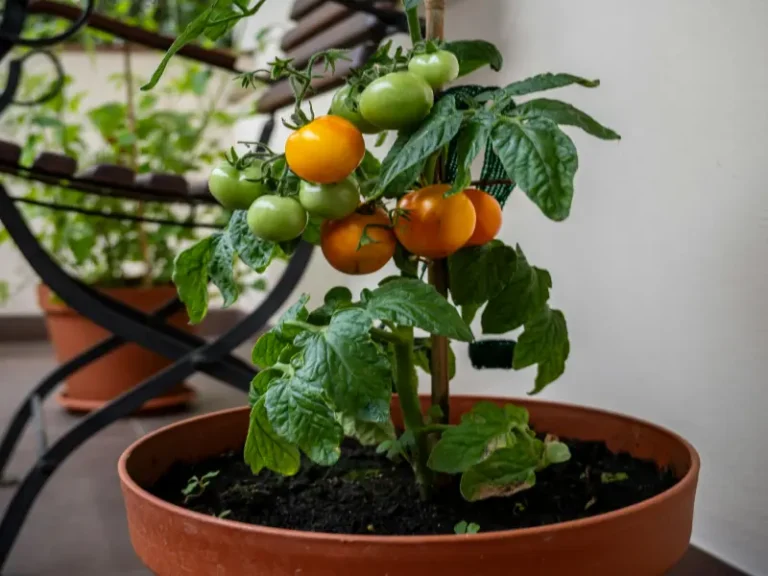
Container vs. In-Ground Feeding: Two Different Ecosystems
One of the biggest mistakes I see is gardeners treating patio containers the same way they treat raised beds. From a water and nutrient-management perspective, they are fundamentally different growing systems.
The Slow-Release Bank (In-Ground & Raised Beds)
Garden soil acts as a large nutrient and moisture buffer. Nutrients remain in the root zone longer, moisture fluctuations are slower, and microbial activity helps regulate nutrient availability over time. Because of this, in-ground tomatoes perform best with less frequent, slow-release feeding.
By synthesizing recommendations from Prairie View A&M University and University of Missouri Extension, garden soils should be pre-fertilized 5 to 7 days before planting using a complete granular fertilizer such as 8-24-24, 8-8-8, or 5-10-10, followed by periodic side-dressing once fruit development begins.
The Rapid-Flush System (Containers)
Containers behave very differently. The root zone is limited, potting mix dries quickly, and soluble nutrients are continuously lost through drainage and repeated watering. Every time excess water drains from the pot, some nutrients leave with it.
According to Penn State Extension, most standard tomato varieties perform best in containers at least 14 inches wide, with larger pots providing significantly better moisture stability and root capacity.
Because nutrients leach so rapidly, container tomatoes require a more continuous feeding strategy. Penn State Extension recommends starting with a timed-release fertilizer at planting, then supplementing weekly with a balanced soluble fertilizer such as 20-20-20 after the initial nutrient charge is depleted. Once flowering and fruit production accelerate, shifting toward a higher-potassium formula such as 9-15-30 helps support fruit development, firmness, and overall yield quality.
The Phased Feeding Protocol: When and What to Feed
Stop guessing. I developed the Phased Feeding Protocol to synchronize tomato feeding with the plant’s major physiological growth stages.
(Note: The granular feeding schedule below is designed for the “Slow-Release Bank” of in-ground and raised-bed gardens. Container growers can use these same physiological milestones to determine when to shift liquid fertilizer ratios.)
Use this chart as a quick-reference feeding timeline throughout the growing season.
Tomato Feeding Schedule Quick Reference
| Growth Stage | Plant Trigger | Feeding Strategy | Recommended Fertilizer |
|---|---|---|---|
| Pre-Planting | Soil warmed (~60°F) | High-phosphorus starter fertilizer | 10-52-17 |
| Vegetative Growth | Weeks 1–4 after transplant | Avoid heavy feeding | Existing soil nutrition |
| Golf-Ball Pivot (Early Fruit Set) | First fruit cluster reaches golf-ball size | Side-dress with calcium nitrate | Calcium nitrate |
| Peak Harvest | 2 weeks after first ripe fruit | Repeat side-dressing | Calcium nitrate or balanced fertilizer |
Phase 1: Pre-Planting (After Soil Warming)
Once soils have warmed sufficiently for active root growth (typically around 60°F / 16°C), prepare the planting hole and apply a completely soluble, high-phosphorus starter fertilizer such as 10-52-17 at the rate of 2 level tablespoons per gallon of water. After transplanting, water the solution into the root zone to support early root establishment.
Phase 2: Vegetative Growth (Weeks 1–4)
This is the “Tough Love” phase. Do nothing. In most gardens, you must resist the urge to feed heavily during early establishment. If the planting hole was prepared properly, the plant should focus on expanding and establishing its root system. Excessive early nitrogen can encourage lush top growth before the roots are fully developed.
Phase 3: The Golf-Ball Pivot (Early Fruit Development)
This is the major nutrient transition point. Once the first fruit clusters reach roughly golf-ball size, the plant begins shifting from vegetative growth toward sustained fruit production.
At this stage, University of Missouri Extension recommends side-dressing with approximately 0.5 pound of actual nitrogen per 100 feet of row. Calcium nitrate is commonly used here because it supplies readily available nitrogen along with calcium during peak fruit development.
Phase 4: Peak Harvest (Indeterminate Varieties Only)
For indeterminate tomatoes, apply a second side-dressing approximately two weeks after harvesting the first ripe fruit, followed by a third application about one month later if plants remain vigorous and productive.
Plant Diagnostics: How to Tell If You’re Overfeeding (or Underfeeding)
Your tomato plants will tell you exactly what is going wrong — if you know how to read the signals.
Use the quick-reference chart below to identify common nutrient problems and overfeeding patterns.
Tomato Nutrient Diagnostic Chart
| Visible Symptom | Most Likely Issue | Common Contributing Factor |
|---|---|---|
| Dark green leafy growth with poor fruiting | Excess nitrogen | Overfeeding |
| Purple leaves and stems | Reduced phosphorus uptake | Cold, wet soil |
| Yellowing or browning along leaf margins | Potassium deficiency | Heavy fruit production |
| Black sunken lesions on fruit bottoms | Blossom end rot (BER) | Uneven watering and disrupted calcium transport |
The sections below explain how to distinguish these problems and correct them before yields decline.
Signs of Excess Nitrogen
- Excessively large, dark green leaves and unusually thick stems
- Delayed fruiting, poor fruit set, or increased blossom drop
- Soft, overly lush new growth that becomes more attractive to aphids and more susceptible to foliar diseases
Signs of Reduced Phosphorus Uptake
- Purple leaves or stems
- Pale new growth
- Reduced flowering and poor fruit production
(As discussed earlier, cool, wet spring soils can temporarily reduce phosphorus uptake even when phosphorus is present in the soil.)
Signs of Potassium Deficiency
- Yellowing or browning along the margins of older leaves
- Uneven ripening or “yellow shoulder” development on fruit
- Reduced fruit size and overall fruit quality
Signs Associated With Blossom End Rot (BER)
- Dark brown or black sunken lesions on the blossom end of fruit
- Leathery, collapsed tissue on developing tomatoes
- Increased incidence during periods of uneven watering, root stress, or rapid early growth
Frequently Asked Questions
Can too much fertilizer stop tomatoes from fruiting?
Absolutely. Excessive nitrogen encourages the plant to remain in a vigorous vegetative growth phase, often at the expense of flowering and fruit production.
What happens if I use too much nitrogen on tomatoes?
Beyond delaying fruit production, excessive nitrogen can create overly soft, lush growth that is more vulnerable to aphids and fungal diseases such as early blight.
Is Miracle-Gro good for tomatoes?
Water-soluble fertilizers such as Miracle-Gro can produce rapid growth and are highly effective for quickly correcting nutrient deficiencies, especially in containers. However, because they do not improve soil structure or organic matter, I always recommend combining them with slow-release or organic soil-building amendments for long-term soil health.
How often should I fertilize potted/container tomatoes?
Because frequent watering constantly flushes nutrients out of the closed potting mix, you must feed container plants much more often than in-ground tomatoes. I recommend starting with a timed-release fertilizer at planting. Once plants begin setting fruit, switch to a strict liquid feeding schedule—applying a soluble fertilizer every 7 to 10 days, adjusting only if extreme heat demands heavier watering.
Final Thoughts & Next Steps
While the biological baselines and my Phased Feeding Protocol outlined above will resolve the vast majority of blossom drop and fruiting failures, getting the fertilizer right is only one piece of the plant math equation.
If you are pumping the perfect nutrients into a plant that is genetically unsuited for your space, or if you expose it to cold soil temperatures because of poor timing, even the best feeding strategy will fail. To truly master your harvest, your next step is to align this nutrition plan with the right genetics and exact seasonal timing.
Here is exactly where I recommend you go next to complete your data-driven tomato strategy:
- Nail Your Timing: Fertilizer won’t fix frost damage. Before you even think about Phase 1 feeding, jump into my foundational pillar, When to Plant Tomatoes: Exact Calendar for Zones 4-9, to calculate your aggressive and safe planting windows.
- Pick the Right Genetics: If you are using the “Rapid-Flush System” for containers, you must choose the right biology. Read my guide on the Best Tomato Varieties for Containers and Small Spaces (Stop Planting Giants in Pots!).
- Understand Your Plant’s Behavior: Your Phase 4 feeding strategy depends entirely on whether your plant stops growing or vines out until frost. If you don’t know the difference, my breakdown on Determinate vs. Indeterminate Tomatoes: Which Should You Grow? is mandatory reading.
- See the Big Picture: For a comprehensive, step-by-step roadmap that ties soil science, pruning, and feeding together, bookmark my master guide: How to Grow Tomatoes: The Complete Guide from Seed to Harvest.
Read through these guides, apply the data, and stop guessing. I’ll see you in the garden.
Behind the Data & Research Sources
To ensure practical accuracy, the strategies and recommendations in this guide are based on agricultural extension research and informed by established plant science principles, including:
- Texas A&M AgriLife Extension: Tomato trials show fertilization, grafting are keys to success
- Washington State University (WSU) Extension: Fall Garden Chores
- Michigan State University (MSU) Extension: Blossom-end rot of tomato tip sheet
- Prairie View A&M University: TOMATO PRODUCTION TIPS
- University of Missouri Extension: Growing Home Garden Tomatoes
- Penn State Extension: Container Grown Tomatoes