Hello, I’m Yun, founder of The Planting Key. One of the most common questions I get is: “Yun, I live in an apartment/condo. Can I still grow amazing onions?”
The answer is a resounding yes. In fact, because onions are naturally compact plants—especially green onions with their shallow root systems—they are excellent candidates for container gardening. Even bulb onions, which need deeper containers, thrive in pots.
However, growing in a pot introduces new challenges that ground gardeners don’t face—specifically regarding soil moisture and day-length confusion.
This guide synthesizes research from leading university extension programs to help you turn your patio, balcony, or sunny window into a productive onion patch.
While this guide focuses specifically on containers, if you are looking for general advice on garden beds, pests, or diseases, please refer to my main How to Grow Onions guide.
Quick Answer: Minimum Pot Depth & Light Requirements
Green onions have shallow roots, making them perfect for containers. Bulb onions need more depth but are still well-suited for container growing.
- For Green Onions (Scallions): Use a pot at least 6-9 inches deep.
- For Large Bulb Onions: Use a pot at least 12-18 inches deep and at least 6-8 hours of direct sun.
- Best Method: Use Transplants (seedlings) for the highest success rate in small spaces.
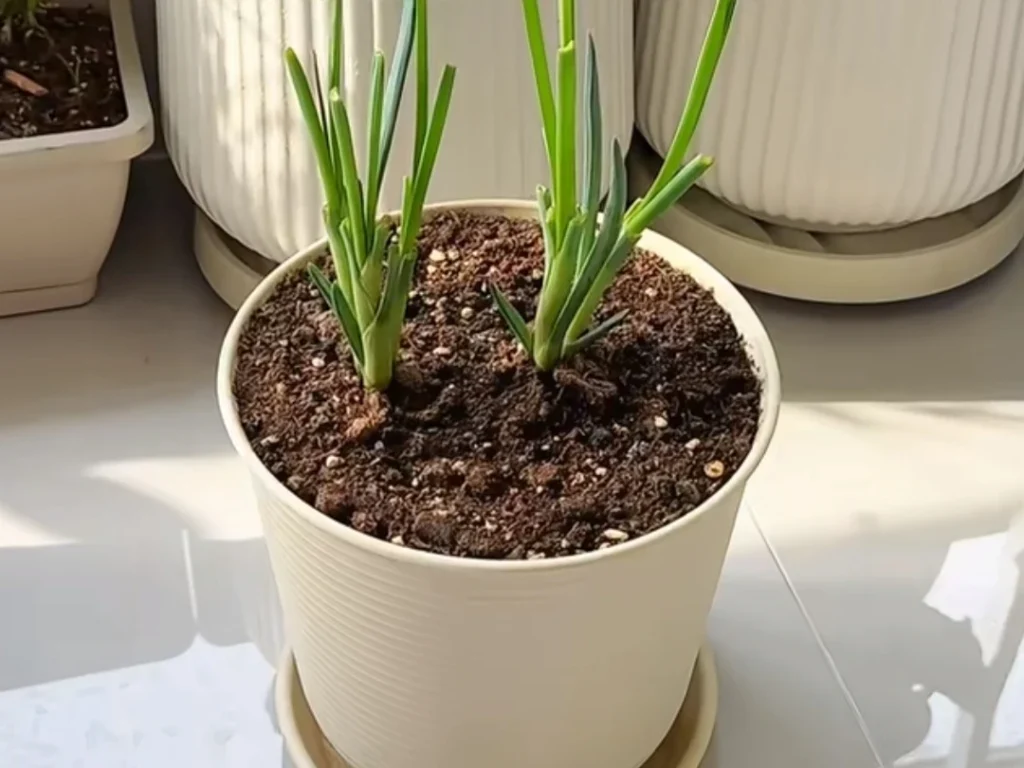
Step 1: Choosing the Right Container (Size Matters)
You don’t need a massive planter box, but depth is non-negotiable. Onions need room for their roots to anchor and for the bulb to swell without pushing itself out of the pot.
- For Green Onions (Scallions): These are the easiest. A window box or pot that is 6-9 inches deep is sufficient (University of California).
- For Bulb Onions: To get a full-sized slicing onion, you need more volume to keep the soil moist. Choose a container that is at least 12-18 inches deep.
- Width: Onions don’t need much personal space. A standard 5-gallon bucket (with holes drilled in the bottom) can comfortably hold 6-8 bulb onions.
The “Drainage” Rule: According to Virginia Tech Extension, drainage is the single most important factor. Your pot must have holes in the bottom. Onions sitting in soggy water will rot in days.
Step 2: The Perfect Soil Mix (Do Not Use Garden Soil!)
Here is the #1 mistake beginners make: digging up dirt from the backyard and putting it in a pot. Don’t do it. Garden soil is too heavy; it will compact in a pot, turn into concrete, and suffocate your onion roots.
The Formula: You need a “well-draining potting mix.” You can buy premium potting mix or make your own:
- 1 part Peat Moss (or Coco Coir) for moisture retention.
- 1 part Perlite or Vermiculite for drainage and aeration.
- 1 part Compost for nutrients.
Virginia Tech Extension recommends enhancing this base mix with a slow-release fertilizer (14-14-14) and adding lime to bring the pH to around 6.5.
Step 3: Choose Your Variety (The Day-Length Rule Still Applies!)
Just because you are planting in a pot doesn’t mean you can ignore biology. The “Day-Length” rule (which I explain in detail in my When to Plant Onions guide) still dictates whether you will get a bulb.
- North (Zones 4-6): You must plant Long-Day varieties (e.g., ‘Walla Walla’).
- South (Zones 7-9): You must plant Short-Day varieties (e.g., ‘Texas SuperSweet’).
- The “Patio” Cheat Code: If you just want green onions (scallions), day length doesn’t matter! You can plant any variety, or use “Bunching Onions” (Allium fistulosum) which are bred specifically not to bulb (see my guide on How to Grow Green Onions for the best varieties).
Step 4: Planting (Transplants vs. Sets)
For containers, I strongly recommend Transplants (live seedlings). (You can buy them, or start your own—see my guide on Growing Onions from Seed).
- Why? Space is limited in a pot. Sets (dormant bulbs) often have a higher failure rate (bolting) and can carry disease. Transplants are clean, healthy, and give you a head start.
Spacing in Pots: You can plant a bit tighter in pots than in the ground since you can easily control water and fertilizer.
- For Large Bulbs: Space plants 3 to 4 inches apart.
- For Green Onions: Space plants 2 to 3 inches apart.
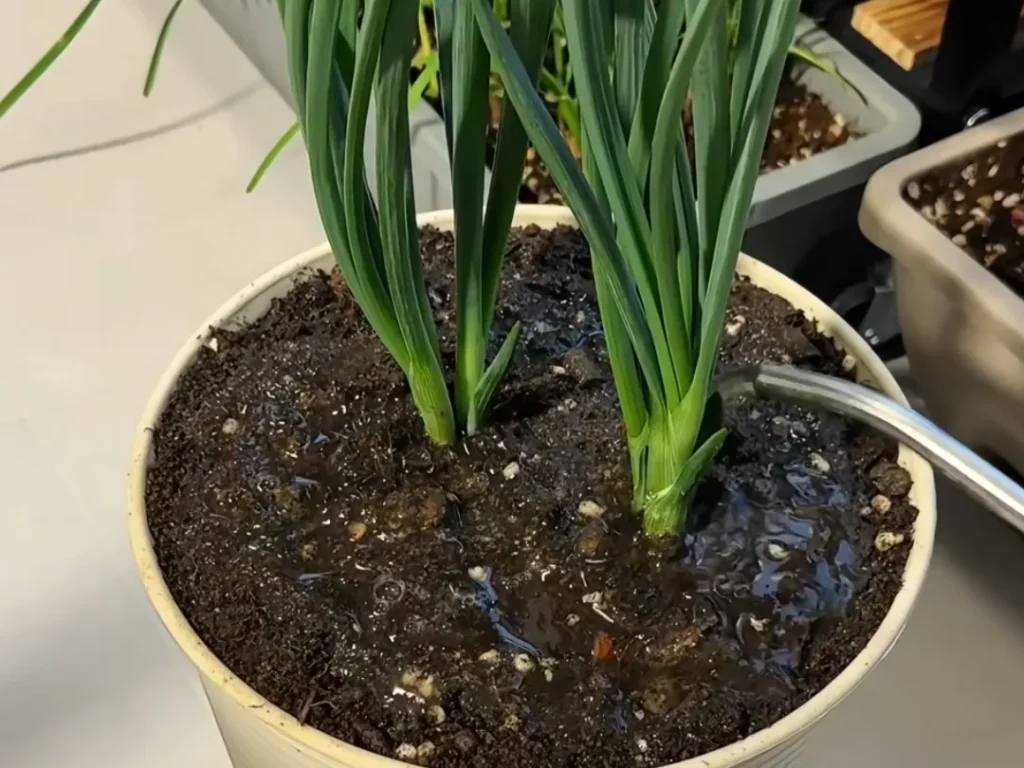
Step 5: The “Water & Feed” Challenge
This is where container gardening differs from the ground.
1. Water Frequently Pots dry out much faster than the ground. In the heat of summer, you may need to water once or even twice daily, especially on hot, dry, or windy days.
- The Test: Stick your finger into the top inch of soil. If it feels dry, water until it flows out the bottom holes (UC Agriculture & Natural Resources).
- Pro Tip: Virginia Tech Extension recommends leaching the soil with plain tap water at least once a week to flush out accumulated salts from fertilizers.
2. Fertilize More Often Because you are watering frequently, nutrients flush out (leach) from the bottom of the pot.
- Strategy: Feed your onions with a diluted liquid fertilizer every 2 to 3 weeks.
- The Cut-Off: Just like in the garden, stop fertilizing when the bulb starts to swell and push soil away (usually mid-summer).
FAQ: Indoor & Troubleshooting
Your Next Step
Now that you have your pots set up and your soil mix ready, you are on your way to a delicious harvest.
But container onions still face the same pests (like thrips) and require the same specific curing process as garden onions to last in storage. Don’t let your hard work go to waste!
Ready to master the full lifecycle? Read my complete guide: How to Grow Onions: The Complete Guide from Seed to Harvest