Hello, I’m Yun, founder of The Planting Key. If you are new to gardening, green onions (also called scallions) are the absolute best place to start. They are the “gateway vegetable”—fast, forgiving, and incredibly satisfying.
However, there is a lot of confusion online. Are green onions just baby onions? Can you really grow them forever in a glass of water?
I have tested these methods alongside research from university extension programs, and I’m here to tell you the truth: The “water hack” you see on social media is fun, but if you want a true endless supply, you need soil.
Here is my complete guide to growing green onions using three different methods.
Quick Answer: The 3 Ways to Grow Green Onions (Ranked by Results)
How to grow green onions to get the best harvest, you have three methods, ranked by longevity:
- The “Kitchen Hack” (Water): Place leftover white root ends in a glass of water. Fastest, but plants lose flavor after 1-2 regrowths.
- The “Replanting” (Soil): Plant leftover roots in a pot of soil. Produces healthier, tastier greens for months.
- The “Pro Method” (Seeds/Sets): Sow “Bunching Onion” seeds or plant large onion sets. This provides the highest quality harvest.
Understanding the Plant: What is a “Green Onion”?
Before we plant, we must clear up a definition. “Green Onion” and “Scallion” are culinary terms that usually refer to one of two things:
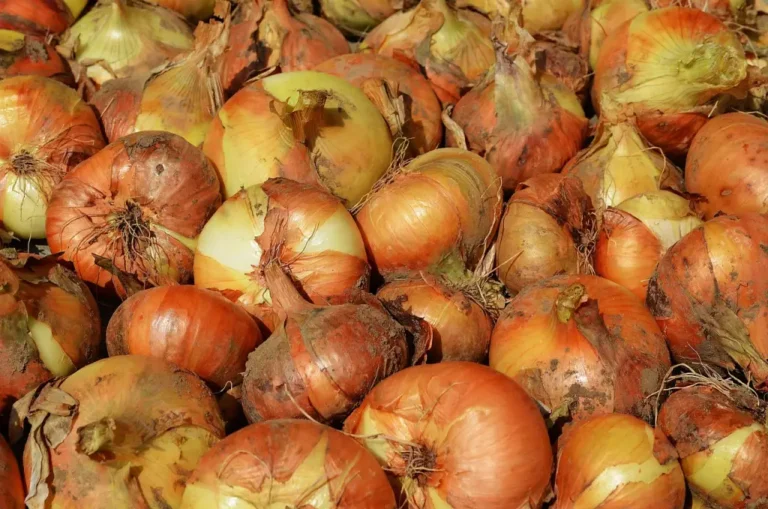
- Immature Bulb Onions (Allium cepa): Regular onions harvested before the bulb swells.
- True Bunching Onions (Allium fistulosum): According to Oregon State University, these are non-bulbing perennials widely cultivated throughout Asia. They are hardier and often develop better flavor than immature bulb onions.
Quick Comparison: Water vs. Soil vs. Seeds
Which method is right for you?
| Feature | Method 1: Water Hack | Method 2: Soil Replanting | Method 3: Seeds/Sets |
| Speed | Fastest (7-10 days to regrowth) | Moderate (2-3 weeks) | Slowest (seeds: 60-70 days; sets: 30-40 days) |
| Flavor | Mild & Watery (loses flavor over time) | Strong & Pungent | Best / Most Intense |
| Longevity | Short (Rots after 1-2 harvests) | Long (Lasts months) | Seasonal / Continuous |
| Effort | Low (Change water daily) | Medium (Potting & watering) | High (Sowing & thinning) |
| Best For | Quick garnishes | Apartment gardeners | Serious flavor lovers |
Method 1: The “Kitchen Scrap” Hack (Water Method)
Best for: Kids, science experiments, and quick garnishes.
This is the viral method everyone knows. It works because the “basal plate” (the bottom of the onion) still has energy stored.
How to do it:
- Cut: Slice off the white bottom of your store-bought green onion, leaving about 1 inch of the white stem attached to the roots.
- Soak: Place the roots in a small glass with just enough water to cover the roots (do not submerge the stem, or it will rot).
- Light: Place on a sunny windowsill.
- Change Water: You must change the water daily to prevent bacteria.
The Catch (Why I don’t recommend this long-term): The onion is running on stored battery power. After 1 or 2 harvests, the new growth will become thin, pale, and flavorless. The roots will eventually rot.
Troubleshooting: Why do my water onions smell? If your glass starts to smell like rotting garbage, bacteria have taken over.
- The Fix: You must change the water daily.
- The “Slime” Check: When changing water, feel the bulb. If the outer layer feels slimy or mushy, peel that layer off and rinse the roots under the tap. If the whole bulb is squishy, throw it out—it’s rotting. This is why the Soil Method (Method 2) is superior for long-term growing; soil naturally manages this bacteria better than stagnant water.
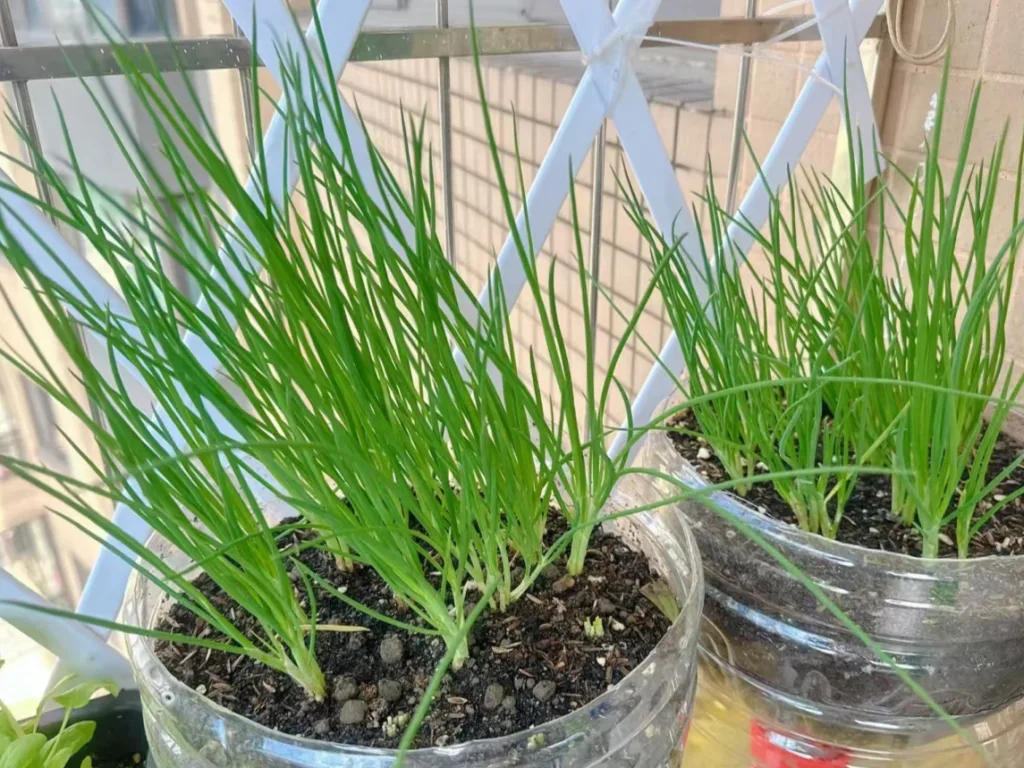
Method 2: The “Replanting” Method (Soil)
Best for: Apartment gardeners who want flavor.
If you want to keep regrowing those kitchen scraps for months, you need to feed them. Soil provides the nutrients that water cannot.
How to do it:
- Prepare: Use the same 1-inch cuttings from Method 1.
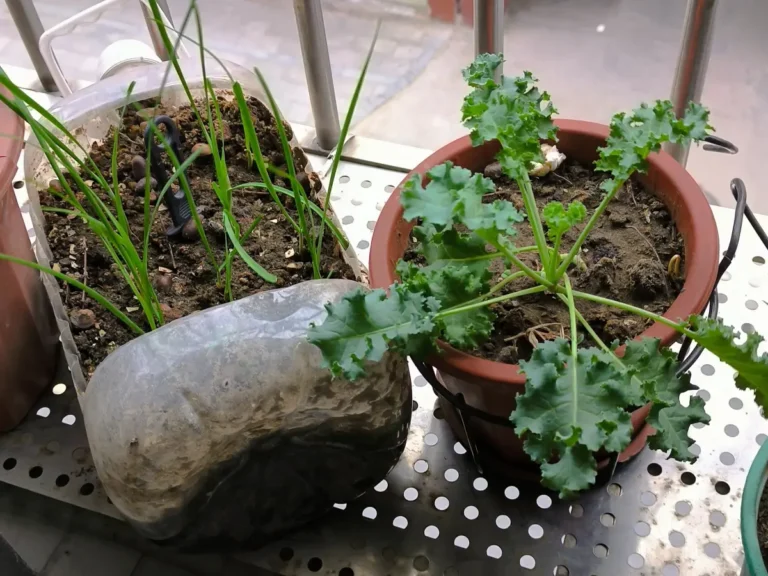
- Plant: Fill a pot (at least 6 inches deep) with potting mix. Poke a hole and bury the white root end, leaving just the cut top visible above the soil. University of Minnesota Extension recommends planting depth that keeps the white portion buried while leaving the green tops exposed.
- Water: Keep the soil consistently moist.
- Harvest: When the green tops grow back to 6-8 inches, snip off what you need.
Why this wins: Soil recharges the plant. I have kept a single batch of supermarket onions going for over 6 months using this method in a sunny window.
Need help with containers? Green onions are perfect for windowsills. Read my guide on How to Grow Onions in Pots for soil and drainage tips.
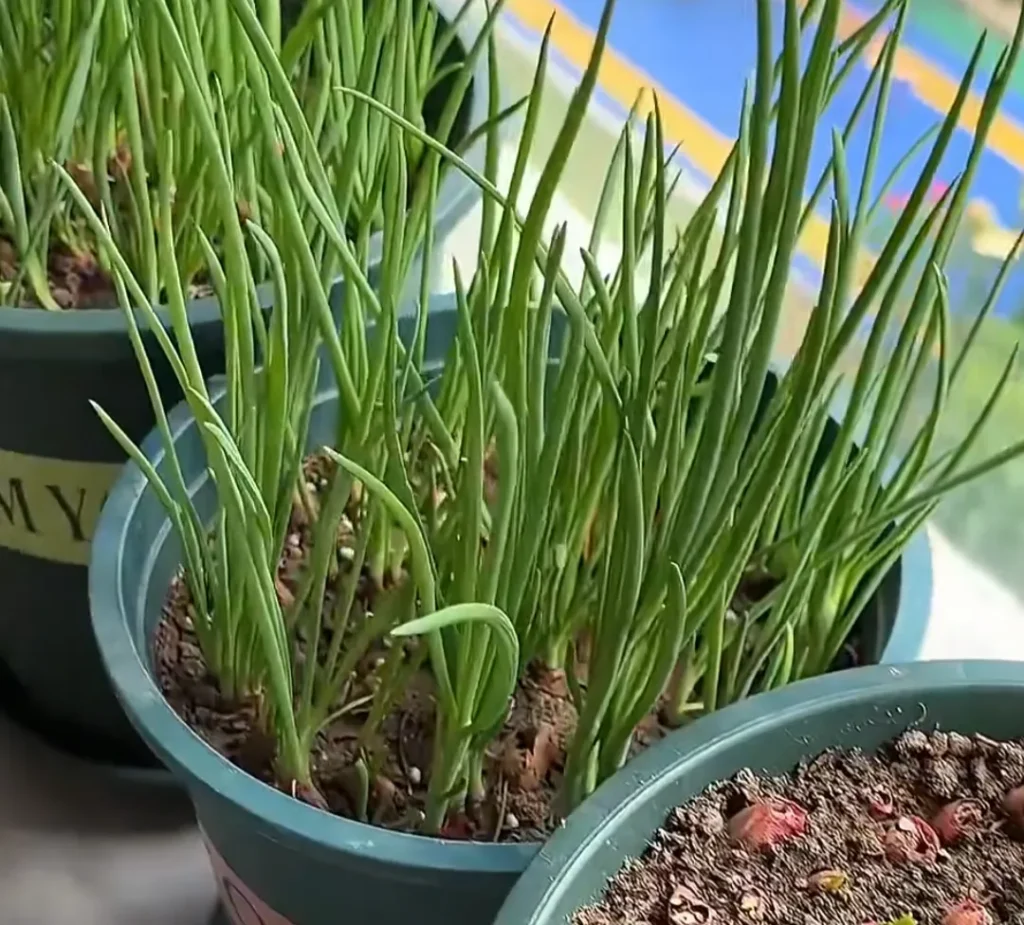
Method 3: The “Pro Method” (Seeds & Sets)
Best for: Serious cooks and continuous supply.
If you want the best texture and that sharp, spicy kick, you should grow your own from scratch. You have two excellent options here:
Option A: Use Your “Bad” Onion Sets
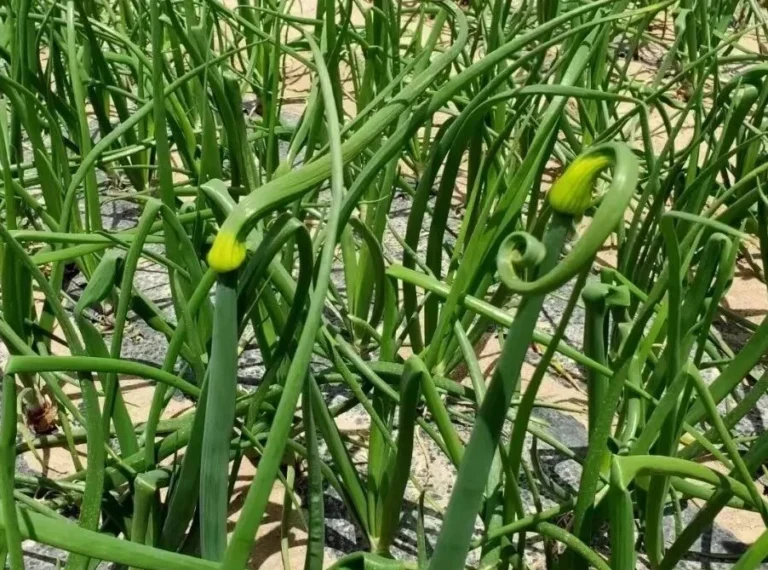
Remember in my How to Grow Onions guide, I warned you not to plant large onion sets (>5/8 inch) because they will bolt (flower prematurely—see Why Is My Onion Flowering)? Here is the good news: Those large sets are perfect for green onions!
- Plant: Bury the large sets 1-2 inches apart.
- Harvest: Pick them in 3-4 weeks as soon as the greens are lush. Do not wait for a bulb (it will just flower). This saves you money and reduces waste.
Option B: Plant “Bunching Onion” Seeds (Allium fistulosum)
This is my favorite method. Varieties like ‘Tokyo Long White’ or ‘Ishikura’ are bred specifically for greens.
- Hardiness: Unlike regular onions, these are incredibly cold-hardy. Oregon State University notes that Allium fistulosum varieties are specifically bred to be cold-hardy and suitable for overwintering—in Zones 5-9, you can often harvest them straight through the winter!
- Planting: Sow seeds thickly (like grass seed) in a row or pot.
- Succession: Plant a new row every 2-3 weeks for continuous harvest.
How to Harvest (Cut vs. Pull)
Whether you grow in water or soil, how you harvest depends entirely on what you want to cook. You have two options:
Option 1: The “Cut-and-Come-Again” (For Continuous Greens)
Best for: Garnishes, omelets, and salads.
If you only need the green tops, do not pull the plant.
- The Method: Use scissors to snip off the green leaves, leaving about 1 to 2 inches of the white stem sticking out of the ground.
- The Science: According to University of Minnesota Extension, bunching onions can be cut “as you would chives.” The plants will send up new leaves from the center, allowing you to harvest the same plant 3, 4, or even 5 times. This works best with Allium fistulosum varieties.
Option 2: The “Whole Plant” (For Full Flavor)
Best for: Stir-fries, grilling, and recipes needing the white bulb.
If your recipe calls for the white part of the scallion (which has the most intense flavor), you must harvest the whole thing.
Note: Once you pull it, that plant is done. You’ll need to plant new seeds or sets to replace it.
The Method: Wait until the stalk is pencil-thick (about 1/4 to 1/2 inch diameter). Loosen the soil gently with a trowel or fork, then pull the entire plant out, roots and all.
FAQ: Troubleshooting Green Onions
Your Next Step
You now have a jar of scraps or a pot of seeds starting to grow. But remember, green onions are just the beginning! If you are ready to graduate from “leaves” to growing massive, storage-ready “bulbs,” the timing is critical. Find out exactly when to start your main crop here: When to Plant Onions: The Authoritative Day-Length Guide