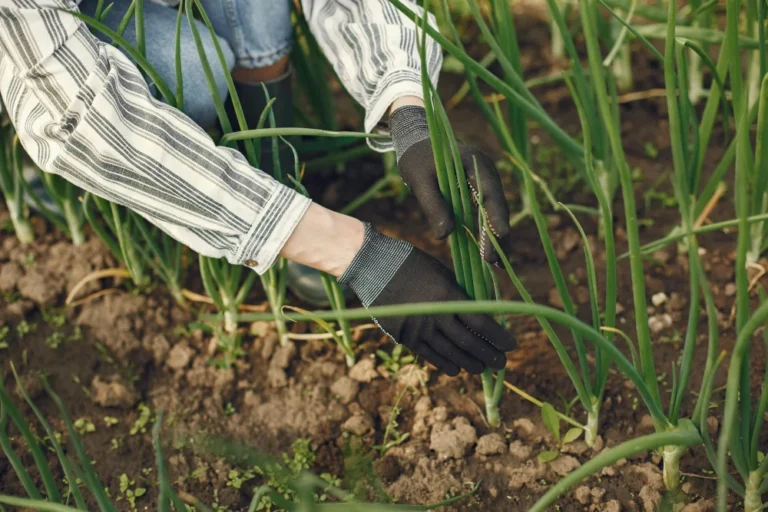
If you live in a climate with a short growing season, or if you simply can’t wait to taste that first roast potato of the summer, there is a secret weapon you should know about: Chitting.
Also known as “greensprouting,” this technique effectively wakes your seed potatoes up from their winter slumber. Think of it like starting tomato seeds indoors—you are giving the plant a head start so it hits the ground running the moment it enters the soil.
While Virginia Tech describes it as an “old English technique”, modern agricultural science confirms its benefits. By manipulating light and temperature, you can not only harvest weeks earlier but also help your plants outpace pests like potato beetles.
This guide covers exactly how to sprout potatoes the right way, how to manage their “physiological age” for maximum yield, and the ideal environment for growing sturdy, healthy sprouts.
Quick Answer: What is Chitting?
Chitting (or greensprouting) is the process of exposing seed potatoes to diffuse light and specific temperatures (55-70°F) for several weeks before planting. This breaks dormancy and encourages the tuber to grow short, sturdy, green shoots.
The Goal: To accelerate plant emergence and canopy development, leading to a faster harvest.
Is Chitting Potatoes Necessary?
The short answer is no. If you plant a dormant seed potato directly into warm soil, it will eventually grow.
However, skipping this step means missing out on a strategic advantage. While not strictly mandatory, university research indicates you should chit potatoes in these three specific scenarios:
1. You Have a Short Growing Season
If you live in Zones 3-6 or simply want new potatoes sooner, chitting is highly recommended.
- The Gain: Research from Utah State University indicates that greensprouting, especially when combined with close plant spacing, can lead to an earlier harvest by 7 to 14 days.
- The Result: This “head start” ensures your crop matures fully before the cold weather kills the vines. (Planning your schedule? See the full timeline here: How Long Does It Take to Grow Potatoes)
2. You Want to Avoid Chemicals (Pest Management)
For organic gardeners, speed is a weapon.
- The Benefit: The University of Minnesota notes that chitting gives growers a “leg-up” on pests.
- Why it works: By getting your plants to emerge and develop a canopy faster, they become strong and established before summer pests like Colorado potato beetles and leafhoppers emerge to attack them. (Want extra protection? Pair this strategy with Potato Companion Planting to naturally repel pests.)
3. You Are Growing “Early” Varieties
Not all potatoes respond the same way.
- Best Candidates: Generally, “early varieties” respond best to chitting.
- Maincrop Warning: If you are growing late-maturing cultivars, evidence suggests they may need to be chitted for a longer period to see a response. However, proceed with caution: physiological issues can occur if chitting exceeds around 10 weeks.
Note on Yield vs. Size: Be aware of the trade-off. While chitting tends to produce higher overall yields (more tubers per plant), the individual potatoes “tend to be smaller”. If your goal is giant baking potatoes, you might want to skip chitting or rub off extra sprouts.
When to Start Chitting
Timing is critical. If you start too early, your potatoes will age too much; start too late, and you won’t see the benefits.
- The Sweet Spot: Aim to start the process about 6 weeks prior to planting.
- The Duration: In ideal conditions, it takes about one month to develop short, sturdy green sprouts.
- Don’t know your date? Check my calculated calendar here: When to Plant Potatoes: Exact Dates for Zones 4-9
How to Chit Potatoes: A Step-by-Step Guide
Follow this protocol to ensure your sprouts are stocky and tough—not long, white, and fragile.
Step 1: Identify the ‘Bud End’ (often called the Rose End)
Before you begin, you must orient the potato correctly to leverage its natural growth power.
- How to spot it: Look closely at the potato.
- The Stem End (Heel): This is where the tuber was attached to the mother plant’s underground runner. It usually has a small indentation or “dimple” and very few eyes.
- The Bud End (Rose End): This is the opposite end. It typically has the highest concentration of eyes (buds) crowded together.
- Why it matters: The University of Maine explains that young seed potatoes have “apical dominance,” meaning sprouts emerge primarily from the “bud end” (or apical end) of the tuber.
- The Action: Place your potatoes in egg cartons or trays with the Bud End facing UP. This prevents the strong sprouts from getting crushed and ensures they grow straight.
Step 2: The Ideal Environment (Light & Temperature)
You need to trick the potato into waking up without thinking it’s summer.
- Temperature: Aim for a “Goldilocks” zone. You can keep them cool at 55-60°F (13-15°C) for steady development
, or go slightly warmer (~70°F) to stimulate stronger shoot action.- Pro Tip: Regardless of the specific temperature, avoid direct heat sources like radiators, which will rapidly dehydrate the tubers.
- Humidity: Don’t forget moisture. Maintain a relative humidity of 40-50%. This balance is critical: it provides enough moisture to prevent the tuber from shriveling as it exerts energy, but remains dry enough to prevent mold or rot.
- Light: This is non-negotiable. Expose them to diffuse light (indirect sunlight).
- The Logic: While warmth acts as the accelerator for growth, bright light acts as the brake that keeps the shoots short. Without adequate light, you will end up with weak, stringy growth that snaps off during planting.
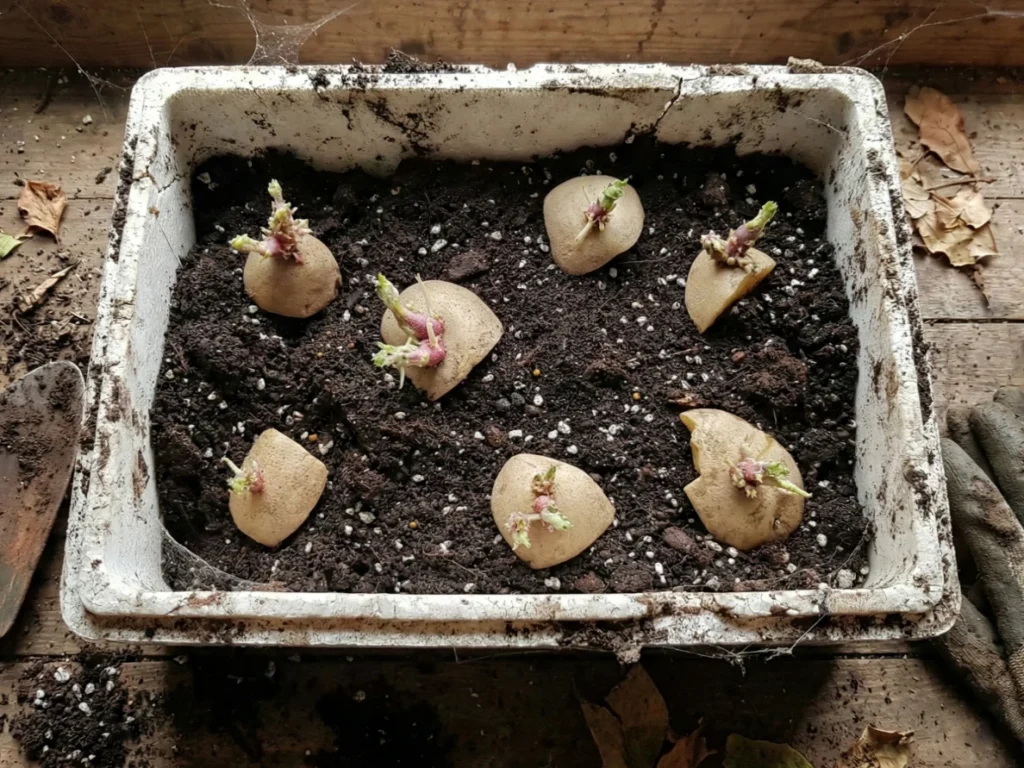
Step 3: Monitor Growth
After 2-4 weeks, check your progress.
- The Goal: You are looking for sturdy sprouts that are about ½ to 1 inch long.
- Color: The sprouts should turn green (or sometimes purple). This color change indicates they are tough and ready for the soil.
Step 4: To Cut or Not to Cut?
A common mistake is cutting seed potatoes before chitting.
- The Rule: Do not cut the seed before green sprouting. Cutting too early encourages the tuber to dry out (desiccation) before it has a chance to push out strong sprouts.
- The Best Practice: Chit the whole potato first. If the potato is large and needs dividing, cut it 2-3 days before planting to allow the cut surface to heal (cure).
- Critical Warning: If your seed is “physiologically old” (already has long, branched sprouts), do not cut it at all. Old seed lacks the vigor to heal properly and is prone to rotting if cut.
Troubleshooting Your Sprouts
Not all sprouts look the same. Here is how to read your potato’s signals like a pro.
Problem: The Potato Refuses to Sprout (Stays Dormant)
Diagnosis: Chemical Inhibitors. If your potato sits for weeks without waking up, it was likely treated with Chlorpropham (CIPC) to prevent sprouting on the shelf.
The Fix: There is no fix. These tubers are often permanently suppressed. This is the #1 reason why you should avoid grocery store tubers.
Learn more: Seed Potatoes vs. Store-Bought: Can You Plant Grocery Store Potatoes
Problem: Long, white, “stringy” sprouts
Diagnosis: Etiolation (Not enough light).
The Fix: These sprouts are weak and will snap easily. If they are over 2 inches long, snip them back and move the tuber to a brighter, cooler spot to stimulate sturdier regrowth.
Problem: Hairy or Branched Sprouts
Diagnosis: “Old Seed”. The potato is physiologically too old.
The Fix: These plants will likely lack vigor. If you have backup seed, use that instead. If not, plant them whole—do not cut them.
Problem: Small Tubers Growing on the Sprouts
Diagnosis: “Potato No Top” Disorder. This happens to extremely old seed or seed stressed by fluctuating temperatures.
The Fix: Discard these. They will not produce a viable leafy plant.
Planting Your Chitted Potatoes
When your planting date arrives, handle your chitted potatoes with care.
- Be Gentle: Although green sprouts are tougher than white ones, they can still snap.
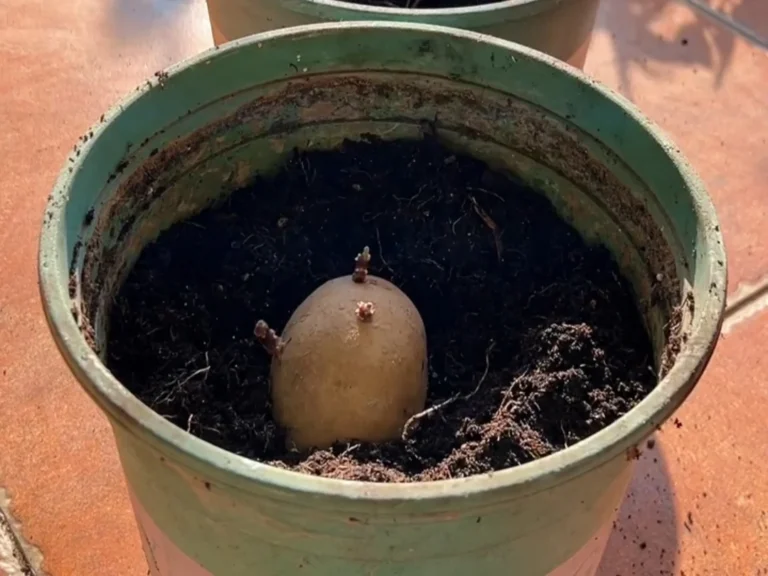
- Sprout Side Up: Place the potato in your trench with the bud end (sprouts) facing the sky.
- Cover: Gently cover with 3-4 inches of soil.
Ready to get them in the ground? Don’t guess the depth. Follow the complete planting protocol in my master guide: How to Grow Potatoes: The Complete Guide