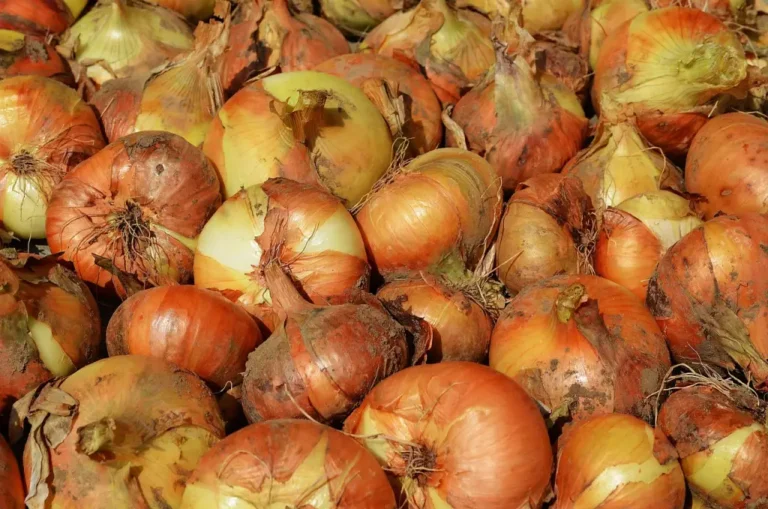
Hello, I’m Yun, founder of The Planting Key. While I usually recommend transplants as the most reliable method for beginners in my onion growing guide, growing onions from seed is the ‘Gold Standard’ for advanced gardeners.
Why choose the more challenging path? Because seeds offer two massive advantages: they are incredibly cost-effective, and they give you access to elite varieties you will never find as starts at a local nursery.
However, onion seeds are slow-growing and have a short shelf life. To succeed, you must follow a precise timeline. I have analyzed the research from several top agricultural programs to create this definitive seed-starting roadmap.
Quick Answer: How to Grow Onions from Seed?
The secret to growing large onions from seed is giving them enough time to build a strong leaf structure before the summer days trigger bulb formation.
- Northern Gardeners (Zones 4–6): You must start seeds indoors 8 to 10 weeks before your last frost date. Outdoor direct sowing is not recommended in the North.
- Southern Gardeners (Zones 7–9): You have two main windows for direct sowing:
- Fall (Best): 8 to 10 weeks before your first fall frost.
- Spring: 6 to 8 weeks before your last spring frost.
- Sowing Depth: 1/4 to 1/2 inch deep.
- Spacing: Sow seeds 1/2 inch apart; thin to 3–4 inches later for large bulbs.
- Days to Harvest:
- Spring Sowing: 100 to 175 days (total lifecycle).
- Fall Sowing (South): 210 to 250 days (including winter dormancy).
Timing: When to Start Your Seeds
The biggest mistake I see is gardeners starting their seeds too late. Onion seeds need a significant “head start” to develop the leaf structure required to bulb properly. For a complete breakdown of planting dates by zone, see my When to Plant Onions guide.
1. Indoor Starting (Best for Zones 4-6)
According to guidelines from Cornell University, you should start transplants inside about 8 to 10 weeks before your last frost date.
In my experience, a 10-week lead time is the sweet spot for most northern gardens. This ensures your seedlings are robust and ready to face the cool spring soil.
My Pro-Tip: Do not wait for the “warmth” of the last frost to start your seeds outdoors. Onion seeds are hardy but slow. In most Northern climates, waiting until the last frost to sow directly in the ground results in a season that is simply too short for the plants to form large, mature bulbs.
2. Direct Sowing (Best for Zones 7-9)
If you live in a warmer climate, you can skip the grow lights and sow directly into your garden beds.
Fall Window
Research from Texas A&M AgriLife Extension shows that in the South, sowing seeds 8–10 weeks before your first frost allows onions to establish roots through the mild winter. Similarly, the Clemson University Cooperative Extension recommends fall planting for coastal and central areas to maximize growth during the cooler months.
Pro-Tip: Precision Timing vs. General Monthly Advice
You may notice that while some local extension offices suggest a general window of “October to December” for Southern seeding, my calendar uses a more precise calculation: 8 to 10 weeks before your first fall frost.
Why the difference? General monthly advice often caters to the warmest parts of the Deep South. However, following a “one-size-fits-all” October start in a cooler Zone 7 could leave your seedlings too small and fragile to survive a sudden cold snap. By sticking to the 8–10 week rule, you ensure your onions are established enough to overwinter safely , but not so overgrown that they are triggered to “bolt” (flower) prematurely when spring arrives.
Always prioritize your local frost date over general monthly rules for the highest success rate.
Spring Window
If you missed the fall, you can sow in early spring, about 6 to 8 weeks before your last frost date.
Mind the “Autumn-Winter Sowing Gap”
When planning your seed schedule in Zones 7–9, you will notice a significant “gap” between the fall sowing window and the early spring window. I do not recommend sowing seeds during this period.
Why avoid this gap?
- The “Leaf-to-Bulb” Race: Onion success depends on leaf count. Every leaf equals one ring on the onion bulb. If you sow in late autumn (October–November), the cooling weather slows growth so much that the plant won’t develop enough leaves before the daylight trigger arrives in spring. You’ll end up with tiny, unusable bulbs.
- The Germination Temperature Floor: Onion seeds need a soil temperature of at least 50°F (10°C) for healthy, fast growth. Throughout late autumn and mid-winter, the soil temperature in most Southern zones drops below this threshold. Seeds sown in cold, wet soil are far more likely to rot than to sprout.
- Winter Survival Risk: Unlike seeds sown in early autumn, which have time to establish deep roots, “gap-period” seedlings are often too small and fragile to survive the random hard freezes that can occur in December.
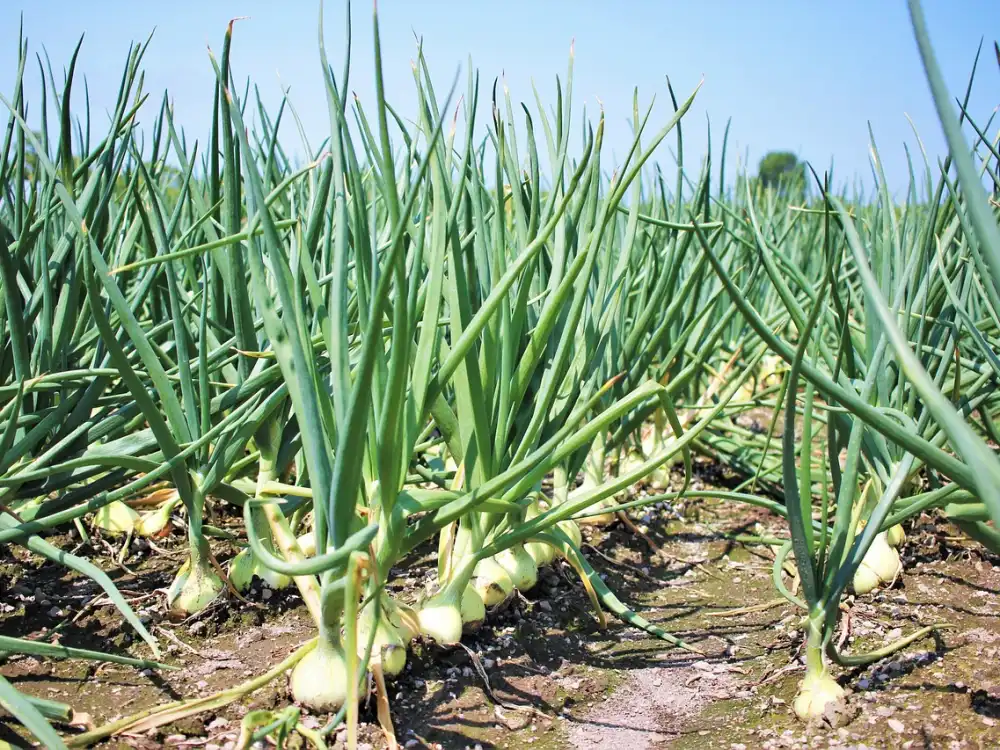
Seed-to-Harvest Timeline: What to Expect
Growing onions from seed is a marathon. While “sets” (small bulbs) can provide a harvest in as little as 80 days, seeds require a much longer window to build the leaf structure necessary for a massive bulb.
Here is the realistic timeline from the day the seed is sown to the day you pull the mature bulb from the soil.
1. Spring-Started Onions (Zones 4–9)
Whether you start seeds indoors in the North or direct-sow in the early spring in the South, the total growth duration is remarkably similar.
- Total Lifecycle: 100–175 days.
- Northern Path (4–6): Approx. 60 days indoors + 90–110 days outdoors. Harvest usually falls in July–August.
- Southern Path (7–9): 100–175 days of direct outdoor growth. Harvest usually falls in June–July.
- The Expectation: These onions have a shorter window to grow leaves compared to fall-sown crops, so expect medium-to-large bulbs depending on your soil and feeding schedule.
2. Fall-Sown Onions (Zones 7–9 Only)
This is the “Slow and Steady” method used in warmer climates to produce the largest possible bulbs.
- Total Lifecycle: 210–250 days.
- Why so long? These onions spend the winter establishing a massive, deep root system. They aren’t “growing” much above ground in January, but they are preparing for an explosion of growth in early spring.
- The Timeline: Sow in September–October -> Overwinter -> Harvest in May–June.
- The Reward: Because of the 100+ day head start, these onions typically produce the largest, sweetest bulbs.
(Note: If you are just looking for green onions/scallions, you can harvest thinnings in as little as 50 days.)
Quick Reference: Onion Growth Timeline by Zone
Here is a quick comparison of the timelines to help you plan your schedule:
| Onion Type | Best for Zones | Total Days | Sowing Time | Harvest Time |
| Spring-Started (North) | 4 – 6 | 100–175 | Indoors (Feb/Mar) | July – August |
| Spring-Started (South) | 7 – 9 | 100–175 | Direct Sow (Jan/Feb) | June – July |
| Fall-Sown (Overwinter) | 7 – 9 | 210–250 | Direct Sow (Aug/Sep) | May – June |
Note: Fall-sown onions take longer but reward you with larger bulbs.
Step 1: Sowing Your Seeds (Indoor vs. Outdoor)
The method you choose depends entirely on your climate. I’ll break down the two primary ways to get your seeds into the soil.
Option A: Starting Indoors (Recommended for the North)
As I discuss in my Complete Guide to Growing Onions, this is the most challenging but rewarding method.
- The Medium: Use a sterile seed-starting mix, not garden soil.
- The Depth: Plant your seeds 1/4 to 1/2 inch (0.5-1.25 cm) deep.
- The Spacing: Sow seeds about 1/2 inch apart. You don’t need individual pots yet; sowing in open flats or “bands” (as suggested by the University of Minnesota Extension) works perfectly.
Option B: Direct Sowing (Recommended for the South)
If you are in a warmer zone and sowing in the fall, you will head straight to the garden.
- The Prep: Ensure your seedbed is moist and weed-free.
- The Depth: Stick to the same 1/4 to 1/2 inch depth.
- The Rows: Space your rows 12 to 18 inches apart to allow for easy weeding and airflow.
Note: If you don’t have garden space, you can also grow onions from seed in containers. Check out my guide on How to Grow Onions in Pots for container-specific techniques.
Step 2: Seedling Care & “The Haircut”
Once your seeds emerge—which usually takes about 4 to 5 days—they need consistent care to become strong enough for the garden.
- Light: Onions are light-hungry. If starting indoors, ensure they get 12–16 hours of bright light daily.
- Moisture: Keep the soil evenly moist. Onion roots are shallow and fragile; they cannot tolerate drying out at this stage.
- My Pro-Tip (The Haircut): As the seedlings grow, they often become tall and “floppy.” If the tops grow too tall and begin to droop, I use scissors to trim them back to about 4 inches tall.
Why do this? Trimming prevents the plants from tangling and falling over. More importantly, it signals the plant to stop putting energy into long leaves and instead focus on building a thick, robust root system.
Step 3: Thinning Your Seedlings (The Mandatory Task)
Whether you started your seeds in an indoor flat or sowed them directly in your garden rows, you will eventually face what I call the most “heartbreaking” task in gardening: Thinning.
This is a mandatory step. You must thin your onions before the plants start to compete with each other for nutrients or begin to form bulbs. If you don’t, you will end up with a carpet of tiny, unusable “pearl” onions instead of the large bulbs you desire.
- When to Thin: I recommend thinning once the seedlings are about 6 inches tall for direct-sown onions, or a few inches tall for indoor-started seedlings.
- Final Spacing: Thin the seedlings so the remaining plants are 3-4 inches apart.
- How to do it: I find it best to use small garden snips to cut the unwanted seedlings at the soil level. This avoids disturbing the shallow roots of the onions you intend to keep.
My Pro-Tip: Don’t let those thinnings go to waste! You can eat all of them. I love to toss them into salads or eggs; they are delicious, tender green onions that offer a preview of the harvest to come. If you want to grow green onions intentionally for continuous harvest, see my dedicated ‘How to Grow Green Onions‘ guide.
Step 4: Hardening Off (The Transition Period)
Before your pampered indoor seedlings can face the harsh realities of the garden, they must undergo “Hardening Off.” This is a 7-to-10-day process that gradually acclimates the plants to outdoor temperatures, direct sunlight, and wind.
Skip this step, and your onions will likely suffer from “transplant shock” or sunscald. Here is the schedule I follow:
- Days 1-2: Place your trays in a fully shaded, sheltered spot (like a porch) for only 1 to 2 hours, then bring them back inside.
- Days 3-5: Gradually increase their time outside by 1 or 2 hours each day. Move them into dappled sunlight, but keep them protected from strong winds.
- Days 6-8: Move the trays into direct morning sun. By now, they should be spending 6 to 8 hours outdoors. If temperatures are mild (well above freezing), you can leave them out overnight in a sheltered area.
- Day 10: Your onions are ready. They should be about the thickness of a pencil and looking “tougher” and more upright.
My Pro-Tip: During this week, reduce watering slightly. You don’t want the plants to wilt, but letting the soil dry out a little more than usual helps the plant tissue toughen up in preparation for the move.
Step 5: Transplanting to the Garden (The Final Move)
When your seedlings are ready and your soil has reached at least 50°F (10°C), it’s time for the final move. Here is how to ensure a 100% survival rate:
1. The Pre-Planting Trim (For Success)
Right before the seedlings go into the ground, I perform a final “grooming.” This is a professional technique supported by the University of Minnesota Extension to reduce transplant shock:
- The Roots: Trim the long, tangled roots back to about 1/2 inch (1.25 cm) long. This makes them much easier to plant and encourages a fresh burst of new root growth.
- The Tops: Ensure the green tops are trimmed to about 4 inches (10 cm) tall.
2. Planting Depth and Spacing
Unlike many other vegetables, onions are very sensitive to how deep they are buried.
- Depth: Plant your seedlings 1 to 1½ inches deep (just enough to cover the white root zone). Do not plant deeper than 1½ inches, as this can restrict bulb development.
- Spacing: Place each plant 3-4 inches apart in the row. If you want larger onions for storage, give them the full 4 inches.
3. Immediate Care
As soon as the last seedling is in the ground, water them in slowly and deeply. According to the Clemson University Cooperative Extension, immediate irrigation is critical to firm the soil around the roots and eliminate air pockets that could dry out the young plants.
Summary: Seed vs. Transplant Timeline
| Factor | Growing from Seed (Advanced) | Buying Transplants (Recommended) |
| Total Effort | High (Requires 8-10 weeks indoors) | Low (Buy and plant) |
| Variety Choice | Infinite | Limited |
| Cost | Very Cheap | Moderate |
| Days to Harvest | 100 – 175 days (from sowing) | about 90 days (from planting) |
Common Mistakes When Growing Onions from Seed
Growing onions from seed is rewarding, but it is also one of the most technical tasks in the vegetable garden. If your seedlings look like thin, floppy blades of grass or fail to form bulbs altogether, you likely fell into one of these common traps.
1. Relying on Windowsill Light (The “Leggy” Seedling Trap)
Many beginners place their seed trays on a south-facing windowsill. While it looks bright to the human eye, it is rarely enough for onions.
- The Problem: Onion seedlings need intense, overhead light for 12–16 hours a day. Windowsill light is directional and weak, causing seedlings to stretch toward the glass, becoming weak, pale, and “leggy.”
- The Solution: Use dedicated LED or fluorescent grow lights positioned just 2–3 inches above the tops of the seedlings. As they grow, move the lights up to maintain this close distance.
2. Skipping the “Haircut” (The Toppling Trap)
As onion seedlings grow in trays, they often become top-heavy and start to lean.
The Benefit: This “haircut” signals the plant to focus its energy on thickening the stem and expanding the root system, resulting in a much sturdier transplant that can stand upright in the garden.
The Problem: Long, spindly tops draw energy away from root development and make the seedlings difficult to handle during transplanting.
The Solution: If the tops grow too tall and begin to droop, use clean scissors to trim them back to about 4 inches tall.
3. Planting into Cold, Soggy Soil (The Rot Trap)
This is the most common mistake for Southern gardeners during the “Autumn-Winter Gap.”
- The Problem: Onion seeds are hardy, but they are not invincible. They require a minimum soil temperature of 50°F (10°C) to germinate reliably.
- The Solution: If you missed the Fall window (8–10 weeks before first frost), do not try to “catch up” in December. Wait until the soil warms up in late January or February for your Spring window to prevent seeds from rotting in the mud.
4. Neglecting the “Hardening Off” Process
Moving indoor-grown seedlings directly into the harsh spring wind and sun is a recipe for disaster.
- The Problem: Seedlings grown in a controlled indoor environment have a thin “skin” (cuticle). Sudden exposure to UV rays and wind will scorch the leaves, leading to transplant shock.
- The Solution: Spend 7–10 days gradually introducing your seedlings to the outdoors. Start with one hour in the shade and slowly increase their time and sun exposure until they can handle a full day outside. I outlined the exact process for this in Step 4: Hardening Off above.
5. Choosing the Wrong “Day-Length” Variety
This is the silent killer of onion harvests.
The Problem: If you live in the North (Zones 4–6) and plant a Short-Day variety, it will bulb when it’s only the size of a marble. If you live in the South (Zones 7–9) and plant a Long-Day variety, it may never form a bulb at all.
The Solution: Always verify the “Day-Length” classification on the seed packet or catalog before you buy.
- Northern Gardeners (Zones 4–6): Stick strictly to Long-Day varieties.
- Southern Gardeners (Zones 7–9): Choose Short-Day varieties for the best results.
- The “Transition” Zones (Zones 6–7): If you are in the middle, look for Intermediate-Day (also called Day-Neutral) onions. These are biologically engineered to form bulbs regardless of your latitude, making them the safest bet for the central United States.
Troubleshooting Common Seedling Issues
As your seedlings grow, you may encounter a few common problems:
– Why Are My Onion Leaves Turning Yellow – Learn how to diagnose nutrient deficiencies and other yellowing causes.
– Why Is My Onion Flowering – Understand why onions bolt prematurely and how to prevent it.
A Final Note on Pests & Diseases
While I strive to provide the most comprehensive organic advice, remember that pest and disease pressures can vary greatly by region. If you encounter a problem you can’t identify, or if organic methods are not effective, your best resource is your local University Extension Service. They often provide free, region-specific advice and diagnostics for home gardeners. They are the final word on what is happening in your specific soil.
Your Next Step: Mastering Ongoing Care & Harvest
Planting your home-grown seedlings is a major milestone, but the journey doesn’t end there. To ensure those small plants turn into massive bulbs, you need to master:
- Watering and feeding (covered in my Complete Pillar Guide)
- Knowing exactly when to harvest onions
- Curing them for long-term storage (covered in my Complete Pillar Guide)
Now that your seeds are successfully in the ground, head over to my Complete Pillar Guide to learn how to care for them until harvest day: