There’s a special kind of magic in stepping out to your garden or patio and harvesting the crisp, vibrant leaves for a salad that will be on your table in minutes.
The flavor of homegrown lettuce—tender, sweet, and full of life—is simply unmatched by anything you can buy in a store.
My name is Yun, and through my research and passion for gardening, I’ve fallen in love with the simple joy of growing my own food.
I know that starting a new plant can feel a little intimidating, especially one as seemingly delicate as lettuce. You might wonder, “Will it get bitter? Will it just shoot up and go to seed?”
Please, don’t worry. I’ve designed this guide to be your complete, step-by-step roadmap to success.
Think of me as your gardening friend, here to walk you through every stage.
By following these instructions, you’ll have all the knowledge and confidence you need to go from a tiny seed to a bountiful, delicious harvest.
This guide is just one part of my complete library of Vegetable Growing Guides, where I break down how to grow all your favorites.
Key Takeaways
For those short on time, here are the absolute essentials for growing great lettuce:
- Plant in Cool Weather: Lettuce thrives in cool temperatures and will “bolt” (go to seed and turn bitter) in the summer heat. Plant in early spring and again in late summer for a fall harvest.
- Consistent Water is Crucial: Even, consistent moisture is the secret to sweet, tender leaves. Dry soil is a primary cause of bitterness.
- Succession Plant for a Continuous Harvest: Instead of planting all at once, sow a new small batch of seeds every 1-2 weeks to ensure you have a steady supply of fresh lettuce.
- Harvest in the Morning: For the best flavor and crispest texture, harvest your lettuce in the cool of the morning when the leaves are fully hydrated.
Quick Facts Table
| Attribute | Information |
| Sunlight | Full sun to partial shade (afternoon shade is ideal in warmer zones) |
| Soil Type | Loamy, loose, well-draining, rich in organic matter |
| Soil pH | 6.0−6.8 |
| Plant Spacing | 6−12 inches apart, depending on variety |
| Days to Germination | 7−10 days |
| Days to Harvest | 45−60 days |
| Planting Method | Direct sow or start seeds indoors |
When to Plant Lettuce
The simple answer is: Plant lettuce during the cool seasons of spring and fall. Your primary goal is to allow the lettuce to grow and mature entirely outside of the high heat of summer. For most North American gardeners, this means two main planting windows: one in early spring and another in late summer or early autumn.
Lettuce Planting Calendar by USDA Zone
How to Read This Calendar
The calendar below provides key planting dates for two different gardening styles: Aggressive (to maximize your season) and Safe (to minimize frost risk). You’ll notice the ‘Aggressive’ fall dates start later—this is a deliberate strategy to extend the harvest as late as possible.
Lettuce-Specific Timing Rules
Spring Planting: These spring dates represent the ideal window for sowing lettuce seeds. To give this cool-season crop the best possible start, they are intentionally set 2 to 4 weeks before the average last spring frost date. This allows the lettuce to mature before the summer heat arrives. You can use these dates for direct sowing or for transplanting seedlings started indoors 3-4 weeks prior.
Fall Planting: These fall dates are for sowing a second crop. To ensure the plants mature in ideal cool weather, they are intentionally set 8 to 10 weeks before the average first fall frost date. This timing is perfect for producing an exceptionally sweet and crisp harvest.
| USDA Zone | Spring Planting(Aggressive) | Spring Planting(Safe) | Fall Planting(Aggressive) | Fall Planting(Safe) |
| Zone 4 | Apr 11 – Apr 25 | Apr 17 – May 1 | Jul 22 – Aug 5 | Jul 17 – Jul 31 |
| Zone 5 | Apr 2 – Apr 16 | Apr 9 – Apr 23 | Jul 31 – Aug 14 | Jul 25 – Aug 8 |
| Zone 6 | Mar 30 – Apr 13 | Apr 10 – Apr 24 | Aug 9 – Aug 23 | Jul 24 – Aug 7 |
| Zone 7 | Mar 9 – Mar 23 | Mar 11 – Mar 25 | Aug 27 – Sep 10 | Aug 16 – Aug 30 |
| Zone 8 | Feb 23 – Mar 9 | Mar 8 – Mar 22 | Aug 31 – Sep 14 | Aug 21 – Sep 4 |
| Zone 9 | Jan 31 – Feb 14 | Feb 18 – Mar 4 | Sep 21 – Oct 5 | Sep 1 – Sep 15 |
✔ Accuracy is my priority. The key planting dates in this calendar are calculated based on representative Aggressive and Safe frost date baselines established for each zone. Because your garden’s microclimate may vary, I strongly recommend that you verify your local frost dates for the most accurate timing. Learn My Methodology & Find a Frost Date Tool Here.
Understanding the Planting Windows
Why are these specific windows so important? It all comes down to the plant’s biology and its sensitivity to temperature and light.
Spring Planting: Seizing the Cool Season
The goal of spring planting is to sow your seeds early enough that the lettuce can fully mature before the intense heat and long days of summer arrive. You’re racing against the clock. By starting as soon as the soil can be worked, you give the plant the cool, moist conditions it loves to establish strong roots and tender leaves.
Fall Planting: Your Second Harvest Opportunity
Many gardeners forget about fall planting, but it’s my favorite time to grow lettuce! The soil is still warm from the summer, which encourages fast germination. As the plants grow, the air begins to cool, creating the perfect environment for developing sweet, crisp leaves without the stress of impending heat. A fall crop often tastes even better than a spring one.
The Danger Zone: Why Summer Heat is the Enemy
When temperatures consistently rise above 75∘F (24∘C), lettuce plants get stressed. Their survival instinct kicks in, and they shift their energy from producing leaves to producing seeds. This process is called bolting. The plant will send up a tall, central flower stalk, and the leaves will become bitter and tough. Your goal as a gardener is to harvest before this happens.
Key Factors & Advanced Strategies
For those who want to fine-tune their timing, here are the signals to watch for and the advanced techniques to use.
The Secret Signal: Ideal Soil and Air Temperatures
Paying attention to a thermometer can give you a much more accurate planting signal than the calendar alone. Here are the key numbers:
- Germination Temperature: Lettuce seeds are resilient and can germinate in soil as cool as 40°F (4°C). However, the optimal temperature range for the fastest and most reliable germination is between 55-65°F (13-18°C). Be aware that germination becomes difficult and unreliable when soil temperatures rise above 80°F (27°C).
- Growth Temperature: For optimal growth after sprouting, lettuce prefers mild air temperatures. The ideal range is 60-70°F (15-20°C) during the day and a cooler 54-59°F (12-15°C) at night.
Pro Technique: Succession Planting
To avoid having 30 heads of lettuce mature all at once, embrace succession planting. This is the simple technique of sowing a new, small batch of seeds every 1 to 2 weeks. This staggers your harvest, ensuring you have a continuous supply of fresh lettuce over many weeks instead of a single glut.
Extending Your Season: Getting an Earlier Start and Later Harvest
You can push the boundaries of the planting windows with a few simple tools and techniques.
- Early Start: In spring, using a cold frame or row cover can protect young seedlings from late frosts, allowing you to plant earlier.
- Beating the Heat: In late spring or early fall, a shade cloth that blocks 30-40% of the sun can cool the soil and air, delaying bolting and extending your harvest.
- Advanced Tip for Summer Sowing: Have you ever noticed that seeds harvested in summer don’t sprout well right away? This is because high temperatures can cause lettuce seeds to enter a state of dormancy. To break this dormancy for a late-summer planting, you can “trick” the seeds. Soak them in water, wrap them in a moist paper towel, and place them in the refrigerator (around 41°F or 5°C) for 24-48 hours before planting. This cold treatment dramatically improves germination rates in warm soil.
How to Plant, Grow, and Harvest Lettuce: A Step-by-Step Guide
Follow these steps for a perfect path from seed to salad bowl.
Step 1: Choose the Right Variety
Not all lettuce is created equal! The variety you choose will impact how you care for it and when you harvest. For beginners, I highly recommend Loose-leaf varieties (like ‘Oakleaf’ or ‘Black Seed Simpson’). They are forgiving, you can harvest individual leaves as you need them, and they mature quickly. They are an especially smart choice for spring planting, as they are less likely to bolt or fail when temperatures begin to rise.
Other types include:
- Romaine (or Cos): Forms upright, sturdy heads with a crunchy heart.
- Butterhead (or Boston): Forms loose, tender heads with a soft, buttery texture.
- Crisphead (or Iceberg): The most challenging to grow. It requires a long, cool season to form a tight, crisp head and can fail to form a proper head if temperatures exceed 77°F (25°C) during its maturation period.
Pro-Tip: No matter which type you choose, look for specific varieties labeled “slow-bolt” or “heat-tolerant” if you live in a warmer climate or want to push your harvest season a little longer.
Step 2: Prepare the Perfect Soil and Location
Success with lettuce starts from the ground up. Understanding that lettuce has a shallow and dense fibrous root system, mostly living in the top 6-8 inches (15-20 cm) of soil, tells you everything you need to know: the quality of that top layer of soil is critical.
Location: First, choose your spot. Lettuce performs best in a location that gets at least 6 hours of direct sun. However, if you live in a hotter climate (Zone 7+), a spot with full morning sun and some afternoon shade is even better to protect the plants from excessive heat.
For Garden Beds: The ideal soil for lettuce is loose, airy, fertile, and well-draining. It’s also important that the soil is slightly acidic. For optimal nutrient absorption, aim for a pH between 6.0 and 6.8, with many university sources like Cornell suggesting a sweet spot between 6.2 and 6.8. Before planting, prepare your garden bed by working about 1 inch of high-quality organic matter (like compost or well-rotted farm manure) into that crucial top 6-8 inches of soil. This aligns with recommendations from institutions like Utah State University, which suggest applying about 1 inch of compost per 100 square feet of garden area to avoid nutrient overload. This single step is vital because it improves soil structure, helps retain essential moisture, and provides the gentle, slow-release nutrients that lettuce needs for steady growth.
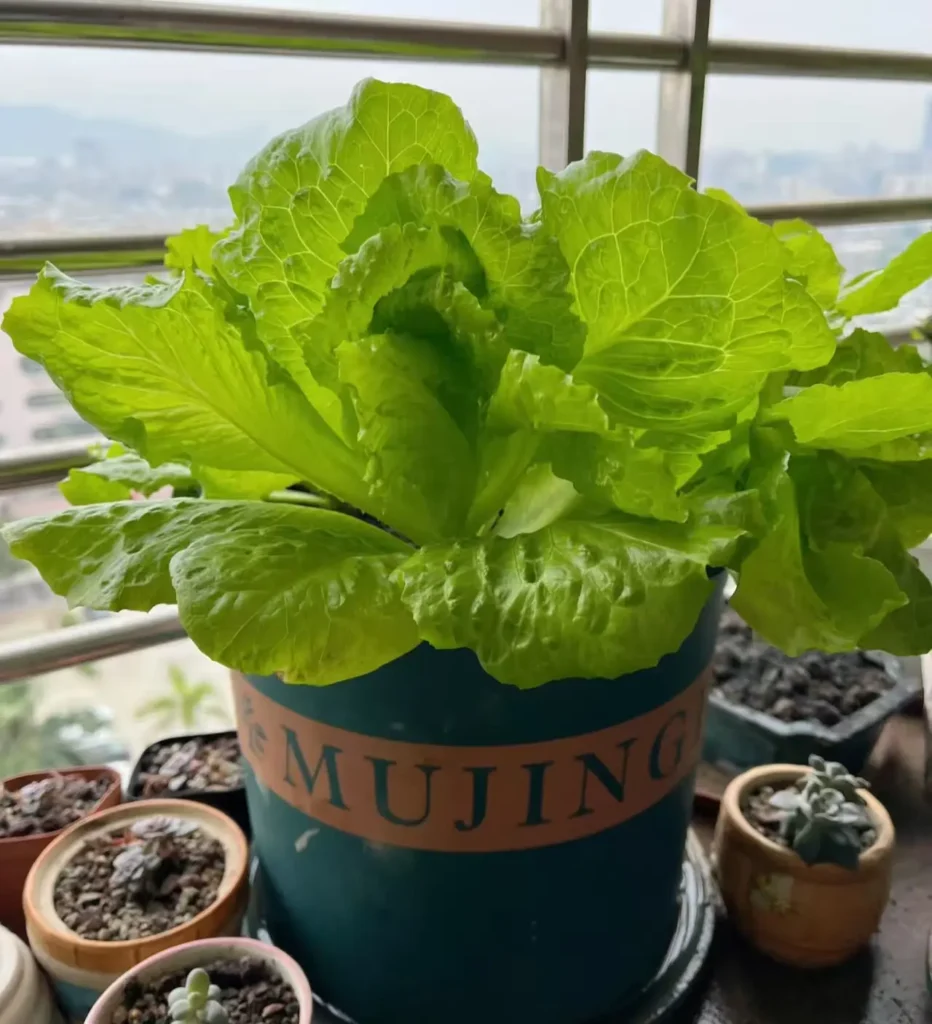
For Containers and Pots: Lettuce is perfect for growing in containers! The soil requirements are the same, but you’ll use a potting mix instead of garden soil. For best results, use a high-quality potting mix, or create your own by blending nutrient-rich soil, coco coir, and a good amount of compost or other organic fertilizer. This ensures your potted lettuce has the aeration, moisture retention, and nutrients it needs to thrive.
Step 3: Sowing Seeds (or Planting Starts)
You have two main paths to planting lettuce: sowing seeds directly into your garden or planting young seedlings (starts) that you’ve grown yourself or bought from a nursery.
Option 1: Direct Sowing Seeds
This is the most cost-effective method and gives you the widest choice of varieties.
Prepare the Seedbed: Moisten the prepared soil. Because lettuce seeds are so tiny, it’s important that the surface of your soil is smooth and level.
Sow the Seeds: Sow seeds very shallowly, from 1/8 to 1/2 inch (0.3-1.3 cm) deep. A critical rule for many varieties is to barely cover them, as they need light to germinate. A shallower depth of 1/8 inch is often ideal, but they can succeed up to 1/2 inch deep in loose soil. Do not plant any deeper.. You can either broadcast seeds over a patch for baby greens or, for head lettuce, plant 3-5 seeds in small indentations spaced according to your variety’s needs.
Water Gently: Gently water the area with a fine spray or a slow-pouring watering can to avoid dislodging the tiny seeds. Keep the soil consistently moist until germination, which typically occurs in 5-10 days.
Option 2: Planting Starts (Transplants)
Using young plants (either homegrown or purchased) gives you a significant head start on the season.
When to Transplant: The ideal time to transplant your seedlings is when they are strong and have developed 4-6 true leaves.
Choose the Right Time of Day: To reduce transplant shock, plant your starts in the evening or on a cloudy day. This prevents the young plants from being immediately stressed by high heat and intense sun.
Pro-Tip for Planting: If your purchased or homegrown starts look a little wilted, you can revive them! Simply soak their root ball in water for a few minutes until the leaves perk up and look full of life again. Then, carefully place the seedling in its new hole, ensuring not to plant it any deeper than it was in its original container, and gently firm the soil around it.
Step 4: Thinning Seedlings and Applying Mulch
This step is crucial for transitioning your tiny sprouts into strong, productive plants.
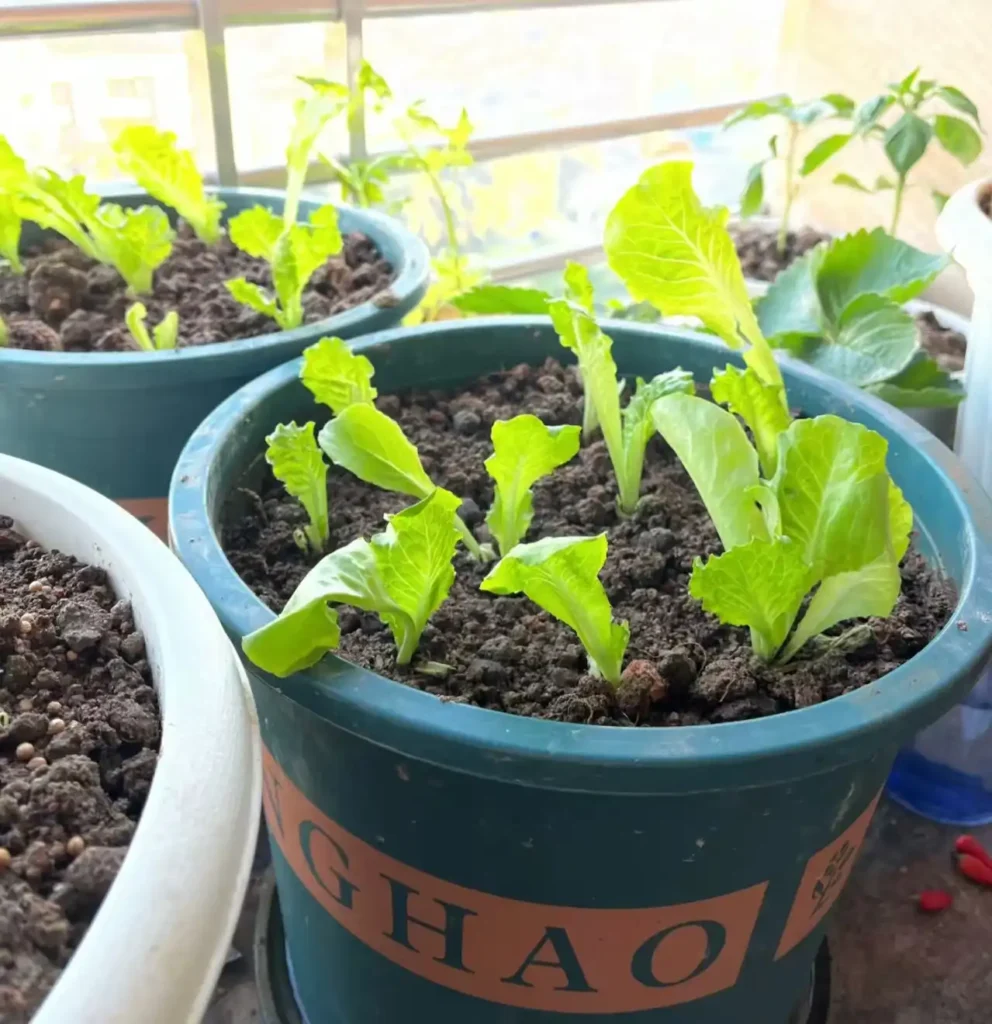
Part A: Thinning for Proper Spacing
About two weeks after your seeds sprout, or once they have developed 3-4 true leaves, you must thin them. Thinning means selectively removing weaker seedlings to give the strongest ones enough space to grow without competing for light, water, and nutrients.
- How to Thin: Use small scissors to snip the unwanted seedlings at the soil line. This avoids disturbing the delicate roots of the seedlings you want to keep.
- How Far to Space: Space the plants according to the recommendations on your seed packet. As a general guide:
- Loose-leaf Varieties: Aim for a final spacing of 6-8 inches (about 15 cm) apart.
- Head-forming Varieties (Romaine, etc.): Give them more room, about 10-12 inches (25-30 cm) apart.
- A good rule for many varieties is to arrange them in rows, with plants 6 inches (15 cm) apart within the row, and rows spaced 8 inches (20 cm) apart. This ensures excellent air circulation.
Part B: Applying Mulch
Once thinned, it’s time to apply mulch and, if needed, build up the soil.
- Apply Mulch: Spreading a 1-2 inch layer of organic mulch (like straw, shredded leaves, or grass clippings) around your plants is one of the best things you can do. Mulch helps to keep the soil cool, retain that all-important moisture, and suppress weeds.
- Pro-Tip (Raised Rows): As you apply mulch, you can gently mound the soil and mulch around the base of each plant. This technique, known as “hilling” or creating a raised row, effectively increases the soil depth around the shallow root system, giving the roots more room to expand and better support for the growing plant.
For detailed information on the ongoing tasks of watering and feeding your growing plants, see the “Expert Guide” section below.
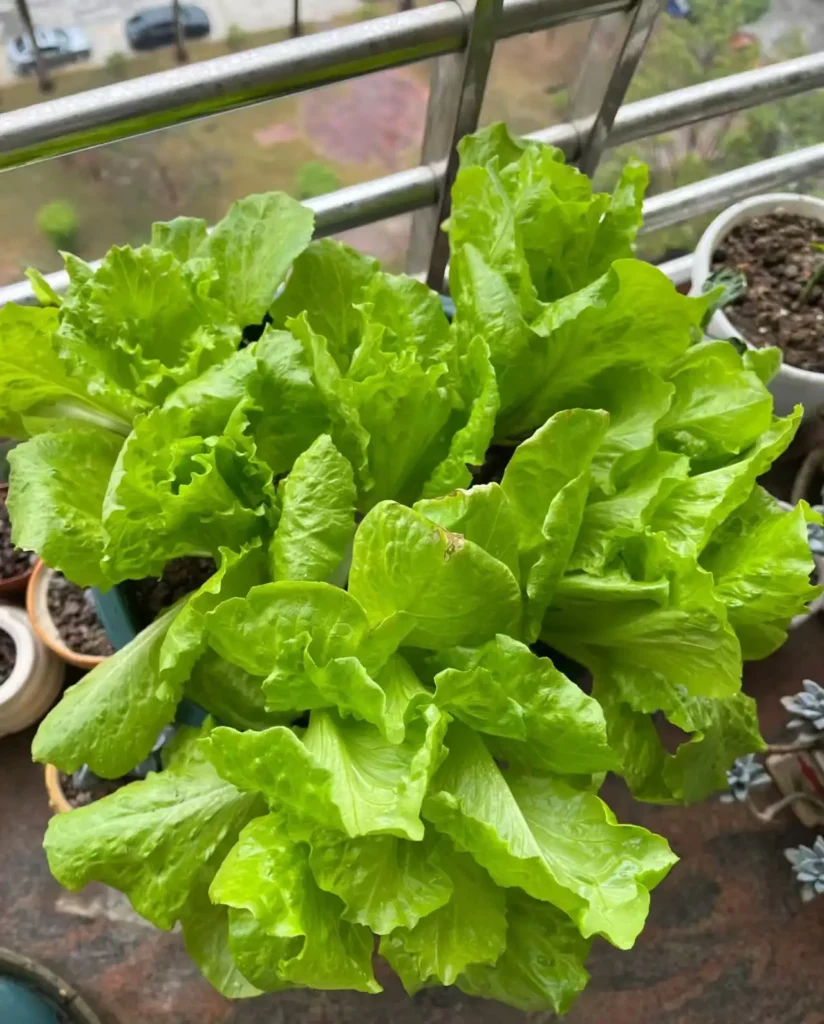
Step 5: Harvesting for Peak Flavor
The best part! For the sweetest flavor and crispest texture, always try to harvest during the coolest parts of the day—either in the early morning or in the evening. At these times, the leaves are fully hydrated and at their peak quality. There are two main ways to harvest:
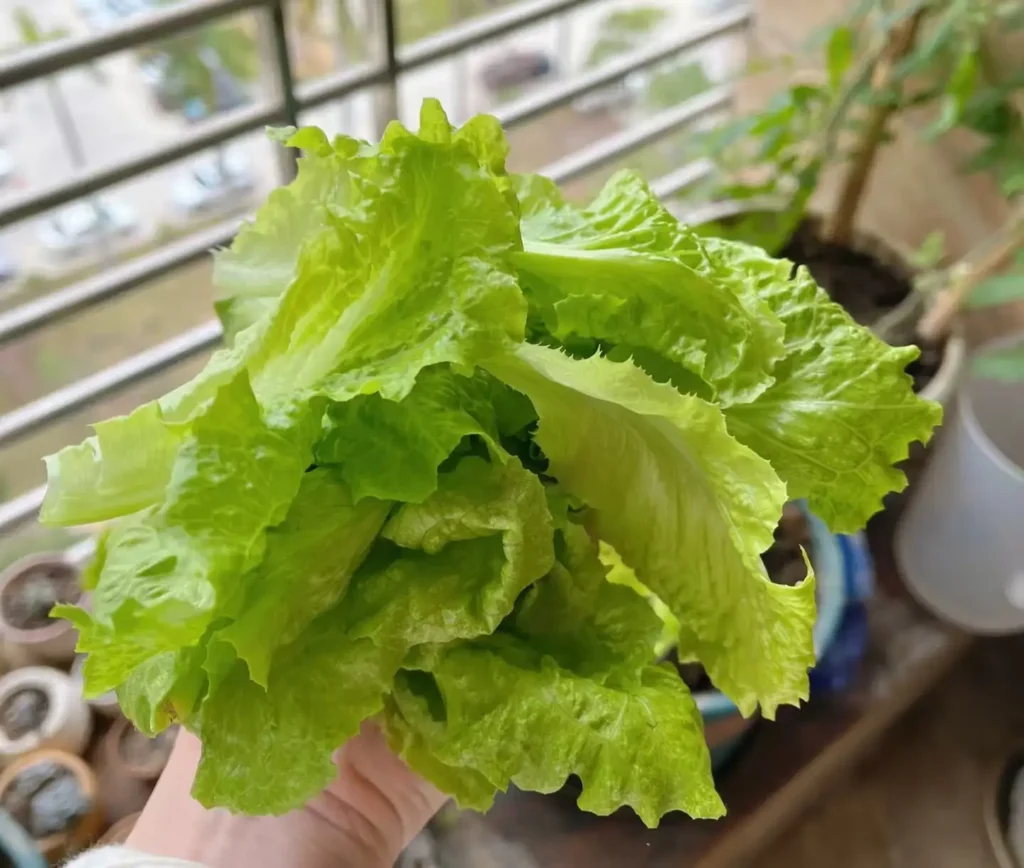
- For Loose-leaf Lettuce (Cut-and-Come-Again): Once the outer leaves are about 4-6 inches long, you can begin harvesting. Use scissors to snip the outer leaves about an inch above the soil, leaving the central crown and inner leaves intact. The plant will continue to produce new leaves from the center for several more weeks. This method is fantastic for a steady, continuous supply.
- For Head Lettuce (Romaine, Butterhead, Crisphead): Wait until the head has formed to a desirable size and feels firm (for Romaine and Crisphead) or developed (for Butterhead). Use a sharp knife to cut the entire plant off at its base, just above the soil level.
Step 6: Post-Harvest Handling & Storage
To keep your lettuce fresh, the key is to handle it gently and keep it cold and moist (but not wet).
- Wash the leaves in cool water.
- Dry them thoroughly. A salad spinner is excellent for this.
- Store the dry leaves in a perforated plastic bag or a container lined with a dry paper towel in your refrigerator’s crisper drawer. Properly stored, fresh lettuce can last for a week or more.
Expert Guide to a Healthy Harvest: Tips & Troubleshooting
Here is where I cover the ongoing care and how to solve problems before they start.
Ongoing Care: Mastering Watering, Mulching, and Feeding
Consistent care is what separates a good harvest from a great one. Here’s how to master the essentials.
Watering: The Art of Consistency and Timing
Lettuce is over 90% water, so consistent moisture is non-negotiable for tender, sweet leaves. A general rule is to provide about 1 inch of water per week, aiming for soil that feels like a damp sponge—not waterlogged and not dusty dry. However, for an expert-level harvest, tailor your watering to the plant’s growth stage:
- Seedling Stage: Water moderately. Allow the soil surface to get slightly dry between waterings (a technique known as “see dry, see wet”). This encourages the young plant to develop a strong, deep root system.
- Pre-Heading Stage (For Romaine, Butterhead, etc.): In the week or two before the head begins to form, you can slightly reduce watering. This again pushes the roots to grow stronger in search of water, building a robust foundation for the head.
- Head-Forming Stage: This is the period of peak water demand. Consistent and ample moisture is crucial. Lack of water now can lead to loose, poorly formed heads and will certainly increase bitterness.
- Late-Heading Stage: Be very careful with watering as the head solidifies. Sudden heavy watering after a dry spell can cause the mature head to split or crack. Aim for unwavering consistency.
Additionally, always try to water the soil at the base of the plant, not the leaves. Wet leaves, especially in humid conditions, can invite fungal diseases like downy mildew and soft rot.
Mulching: The Gardener’s Best Friend
If you didn’t mulch after thinning, do it now! A 1-2 inch layer of organic mulch is the single best way to maintain the consistent soil moisture mentioned above. It also keeps the roots cool, which is essential for preventing bolting, and suppresses weeds.
Feeding: Providing the Right Nutrients
Lettuce is a relatively fast grower and appreciates good nutrition. While the compost you added during soil preparation provides a great foundation, you may need to supplement, especially for heavy-feeding head lettuce varieties.
- Know Your Nutrients: Lettuce is a leafy green, so its primary need is Nitrogen (N) for vigorous leaf growth. However, Phosphorus (P) is crucial during the seedling stage for root development, and Potassium (K) is vital for forming dense, heavy heads in Butterhead and Romaine varieties.
- When to Feed: A good time for a supplemental feeding is about 3-4 weeks after transplanting or thinning, or once the plants reach about four inches in height. This timing ensures the plant is established and ready to use the extra nutrients for vigorous growth.. You can use a balanced liquid fertilizer that is rich in nitrogen (like a fish emulsion), diluted to half-strength. For heading types, a second feeding as the heads begin to form can be beneficial. Avoid over-fertilizing, as this can lead to weak, sappy growth.
Natural Pest and Disease Control
The best way to deal with pests and diseases is to prevent them from ever taking hold. A healthy, thriving plant is its own best defense. Always focus on prevention by:
- Building healthy soil with plenty of organic matter.
- Ensuring proper spacing for good air circulation.
- Watering the soil, not the leaves.
- Practicing crop rotation (don’t plant lettuce in the same spot year after year).
If problems do arise, here’s how to identify and handle them.
Common Lettuce Pests
- Aphids:
- Symptoms: Tiny, pear-shaped insects, often green or black, clustered on the underside of leaves and new growth.
- Solutions: A strong spray of water can dislodge them. For persistent issues, use an insecticidal soap or introduce beneficial insects like ladybugs. Yellow sticky traps are also effective at catching winged aphids.
- Slugs and Snails:
- Symptoms: Telltale holes chewed in leaves, often accompanied by silvery slime trails.
- Solutions: Handpick them in the evening or early morning. Set beer traps (a shallow dish of beer buried to the rim). A perimeter of food-grade diatomaceous earth or crushed eggshells can also deter them.
- Leaf Miners:
- Symptoms: Winding, discolored trails or tunnels visible inside the leaves.
- Solutions: The best control is to simply remove and destroy any affected leaves immediately to break the pest’s life cycle. In areas where they are a major problem, using floating row covers from the moment you plant can prevent the adult flies from laying eggs on the leaves.
Common Lettuce Diseases
- Downy Mildew:
- Symptoms: Yellow spots on the upper side of leaves, with a corresponding fuzzy, white or purplish mold on the underside. Thrives in cool, damp conditions.
- Solutions: Prevention is key: ensure good air circulation through proper spacing and water the soil, not the leaves. If a plant becomes infected, remove and destroy it immediately to prevent the disease from spreading.
- Soft Rot:
- Symptoms: Begins as water-soaked spots on the leaves, which quickly expand and turn into a slimy, foul-smelling mush.
- Solutions: This bacterial disease has no cure, so prevention is everything. Ensure your soil has excellent drainage, be careful not to damage plants when weeding, and practice crop rotation. Remove and destroy any infected plants immediately.
- Sclerotinia / White Mold:
- Symptoms: A watery rot at the base of the plant, often featuring white, cottony fungal growth. You may also see small, hard black pellets (sclerotia).
- Solutions: Like soft rot, this is best controlled by prevention. Crop rotation is essential, as the fungus can survive in the soil for years. Ensure good air circulation and avoid overwatering. Remove and destroy infected plants.
Solving Common Problems with Lettuce
Even with the best care, you might run into a few issues. Here’s how to diagnose and fix them.
Problem: My lettuce tastes bitter.
Cause: This is almost always caused by heat stress or lack of water. When stressed, the plant produces more of a bitter compound called lactucin as it begins the process of bolting.
Solution: Harvest immediately to salvage what you can. In the future, ensure flawlessly consistent watering, use mulch to keep roots cool, and try planting a more heat-tolerant variety or providing afternoon shade.
Problem: My lettuce is sending up a tall stalk from the middle.
Cause: This is bolting. It’s a natural response to stress, primarily from high temperatures or long day length, which triggers the plant to shift from leaf production to flower bud differentiation.
Solution: The quality is declining rapidly. Harvest the entire plant at once and use the less-bitter leaves. Once a plant bolts, the process cannot be reversed.
Problem: The edges of the leaves are turning brown and dying.
Cause: This is “tip burn.” It’s not a disease, but a physiological disorder. It’s caused by inconsistent watering, which prevents the plant from transporting enough calcium to the fast-growing leaf edges.
Solution: Improve your watering consistency—this is the most important fix. Mulching helps dramatically. Ensure your soil pH is in the correct 6.0-6.8 range so calcium is available to the plant.
Problem: My lettuce isn’t forming a tight head.
Cause: This is a common issue for heading varieties like Romaine or Iceberg. The primary causes are heat stress (temperatures consistently above 77°F / 25°C), inconsistent watering during the crucial head-forming stage, or simply planting the wrong variety for your season.
Solution: Timing is everything. Plant heading varieties so they mature during the reliably cool weather of spring or fall. Once the outer leaves form a rosette, provide deep, consistent watering to encourage the inner leaves to form a head.
Problem: The head of my lettuce is splitting or rotting from the inside.
Cause: Splitting is usually caused by uneven watering in the final stage of growth (e.g., a sudden heavy rain after a dry spell). Rotting from the inside can be caused by the same issue, or by high temperatures causing the tightly packed inner leaves to decay.
Solution: Provide steady, even moisture as the head matures—avoid the feast-and-famine watering cycle. Harvest heads promptly as soon as they are firm and ready. In hot weather, afternoon shade can help prevent the head from “cooking” on the inside.
Frequently Asked Questions (FAQ)
Here are quick answers to some of the most common questions about growing lettuce.
Can I grow lettuce in containers or pots?
Yes, absolutely! Lettuce is perfect for container gardening thanks to its shallow root system. Just ensure your pot is at least 6 inches deep with good drainage. For detailed instructions on the best soil mix for containers, please see Step 2 of my guide.
Is it better to plant seeds or buy lettuce starts from a nursery?
It depends on your goals. Planting seeds is cost-effective and offers more variety. Buying starts (young plants) gives you a head start on the season. I cover the specific techniques for both methods in detail under Step 3.
Why are my lettuce seeds not germinating?
The most common reasons are: 1) planting too deep (seeds need light), 2) soil that is too hot (above 80°F / 27°C), or 3) soil that was allowed to dry out. Keep the seedbed consistently moist. In summer, you may also need to pre-sprout seeds in a cool place to break their heat-induced dormancy.
Can lettuce get too much sun?
Yes. While lettuce needs sun to grow, intense, direct sun—especially afternoon sun in hot weather—will stress the plant, causing it to bolt and turn bitter. This is why providing afternoon shade is so beneficial in warmer climates.
Do I need to thin my lettuce if I just want to harvest baby greens?
No, you don’t! This is the one case where you can ignore thinning. For a “cut-and-come-again” patch of tender baby leaves, you can sow the seeds much more thickly. Simply use scissors to shear off a patch of leaves about an inch above the soil line, and they will regrow for several more cuttings.
What’s the easiest type of lettuce for a total beginner?
Without a doubt, loose-leaf varieties (like ‘Black Seed Simpson’ or a ‘Salad Bowl’ mix). They are the most forgiving, mature the fastest, and you can harvest them over a long period using the “cut-and-come-again” method, which is very rewarding for new gardeners.